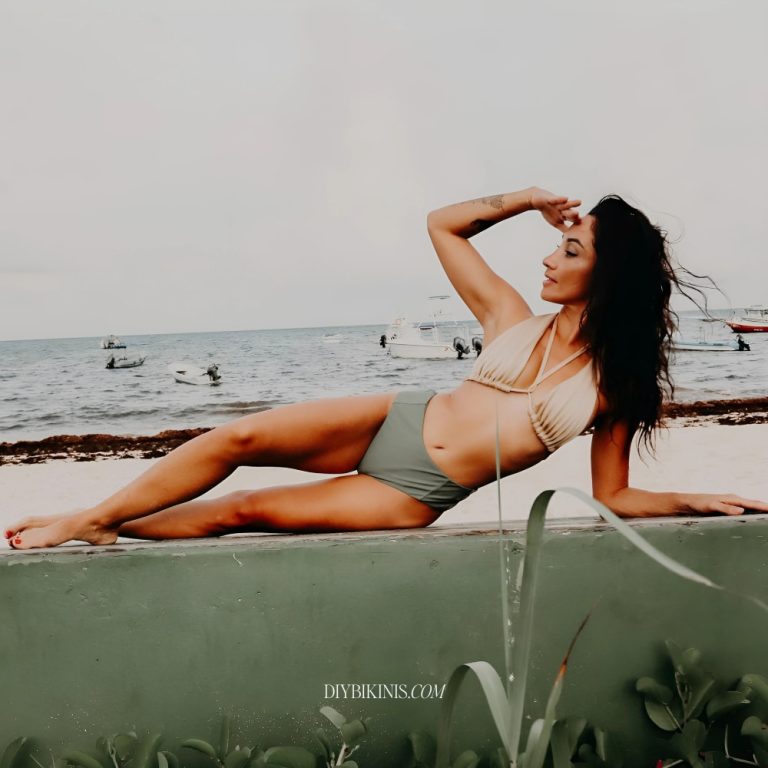
DIY Kimono – Easy Sew Beach Cover Up
DIY swimsuit cover up
If you’re looking for an insanely easy kimono tutorial you’re in the right place! 😌
This is one of the easiest sewing projects you’ll find, plus a comfy and cute DIY kimono is always a great thing to have for your next trip to the beach!
After reading this post, you’ll know how to make a boho style beach cover up all by yourself, even if you’ve never sewn a thing in your life!
Ready? Let’s dig in!

What are swimsuit cover ups made of?
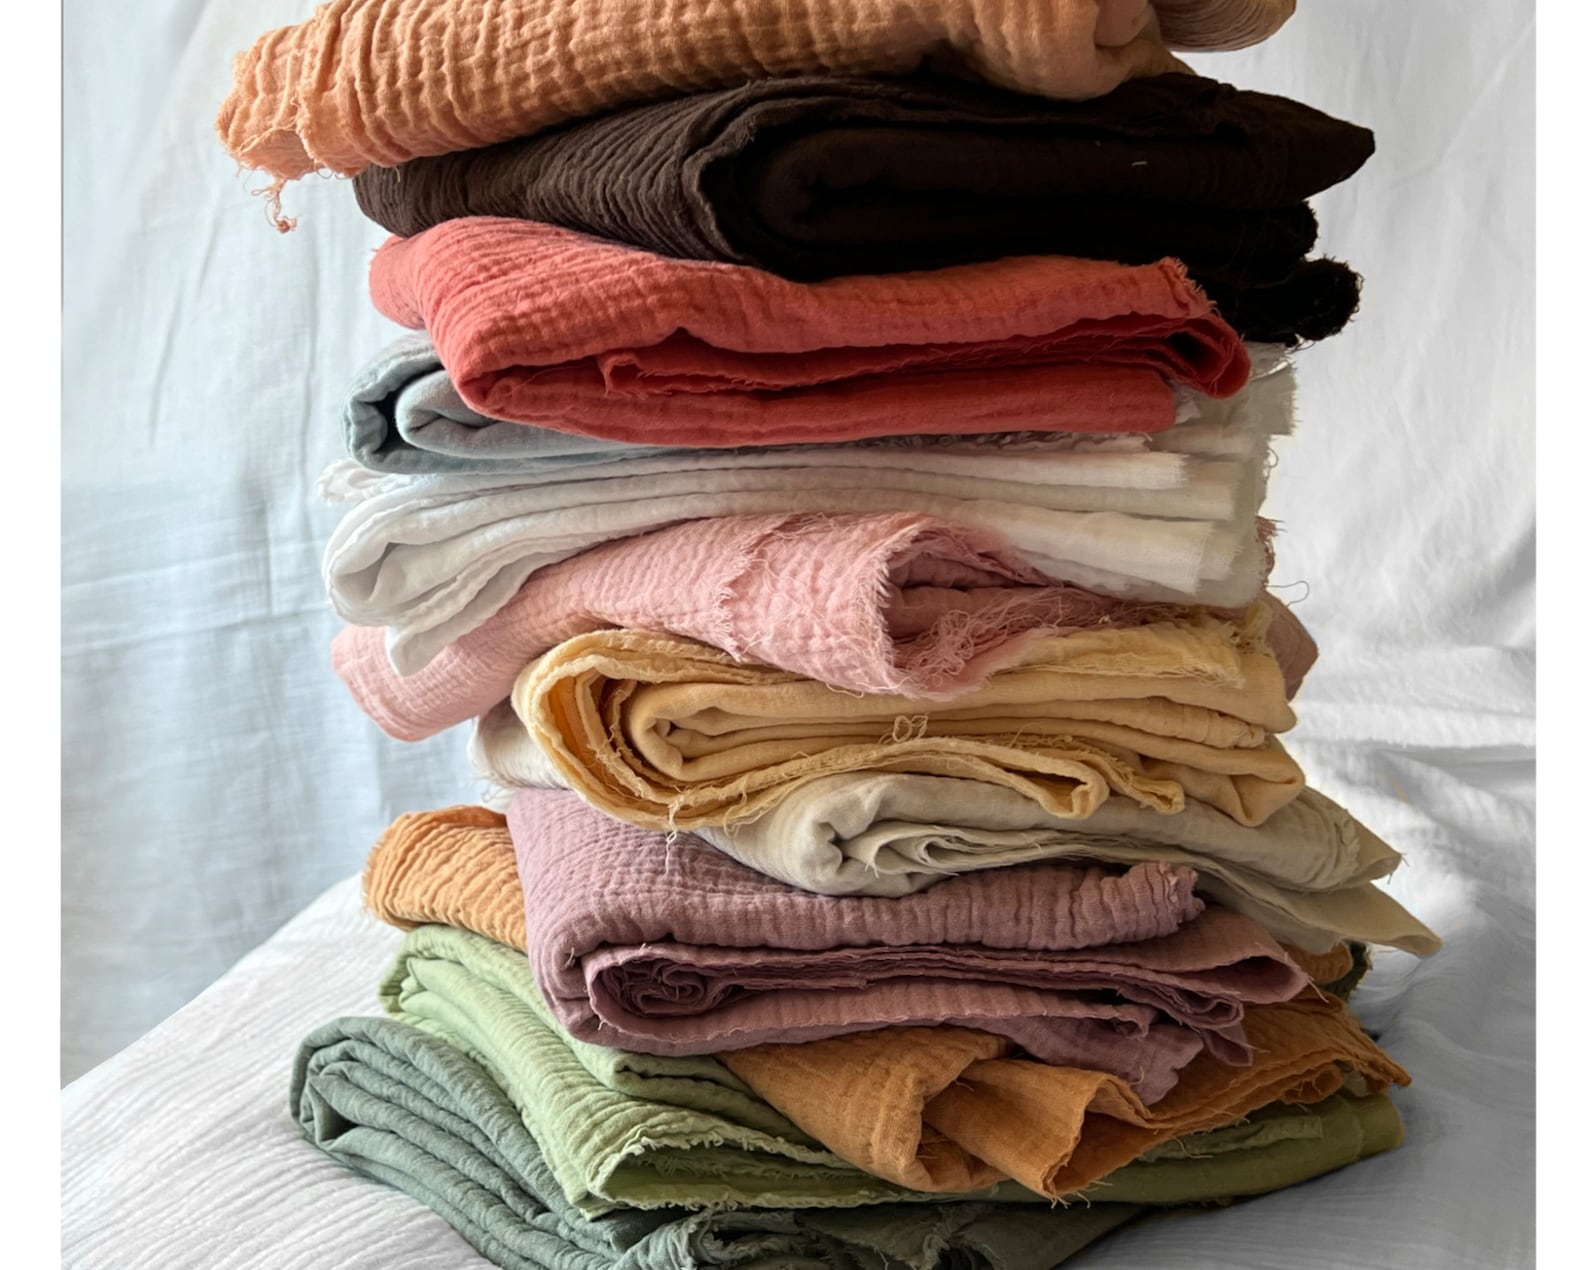
The best fabrics to make your own cover ups are those lightweight and flowy like linen, chiffon, cotton, polyester or rayon.
The possibilities are endless, but here are some good points to consider before buying your kimono’s fabric:
If you’re a beginner, avoid chiffon…
Yes it’s gorgeous… but it can move a lot while cutting and sewing, meaning it’ll take more of your patience and practice and we want to make this project as easy as possible, so #NotTodayChiffon.
Want a classy and chic look?
Natural fibers such as cotton and linen will give you just that! The only downside is that they’ll take longer to dry if you get wet and they also get wrinkly more easily, if you don’t mind that, here are some beautiful ones:
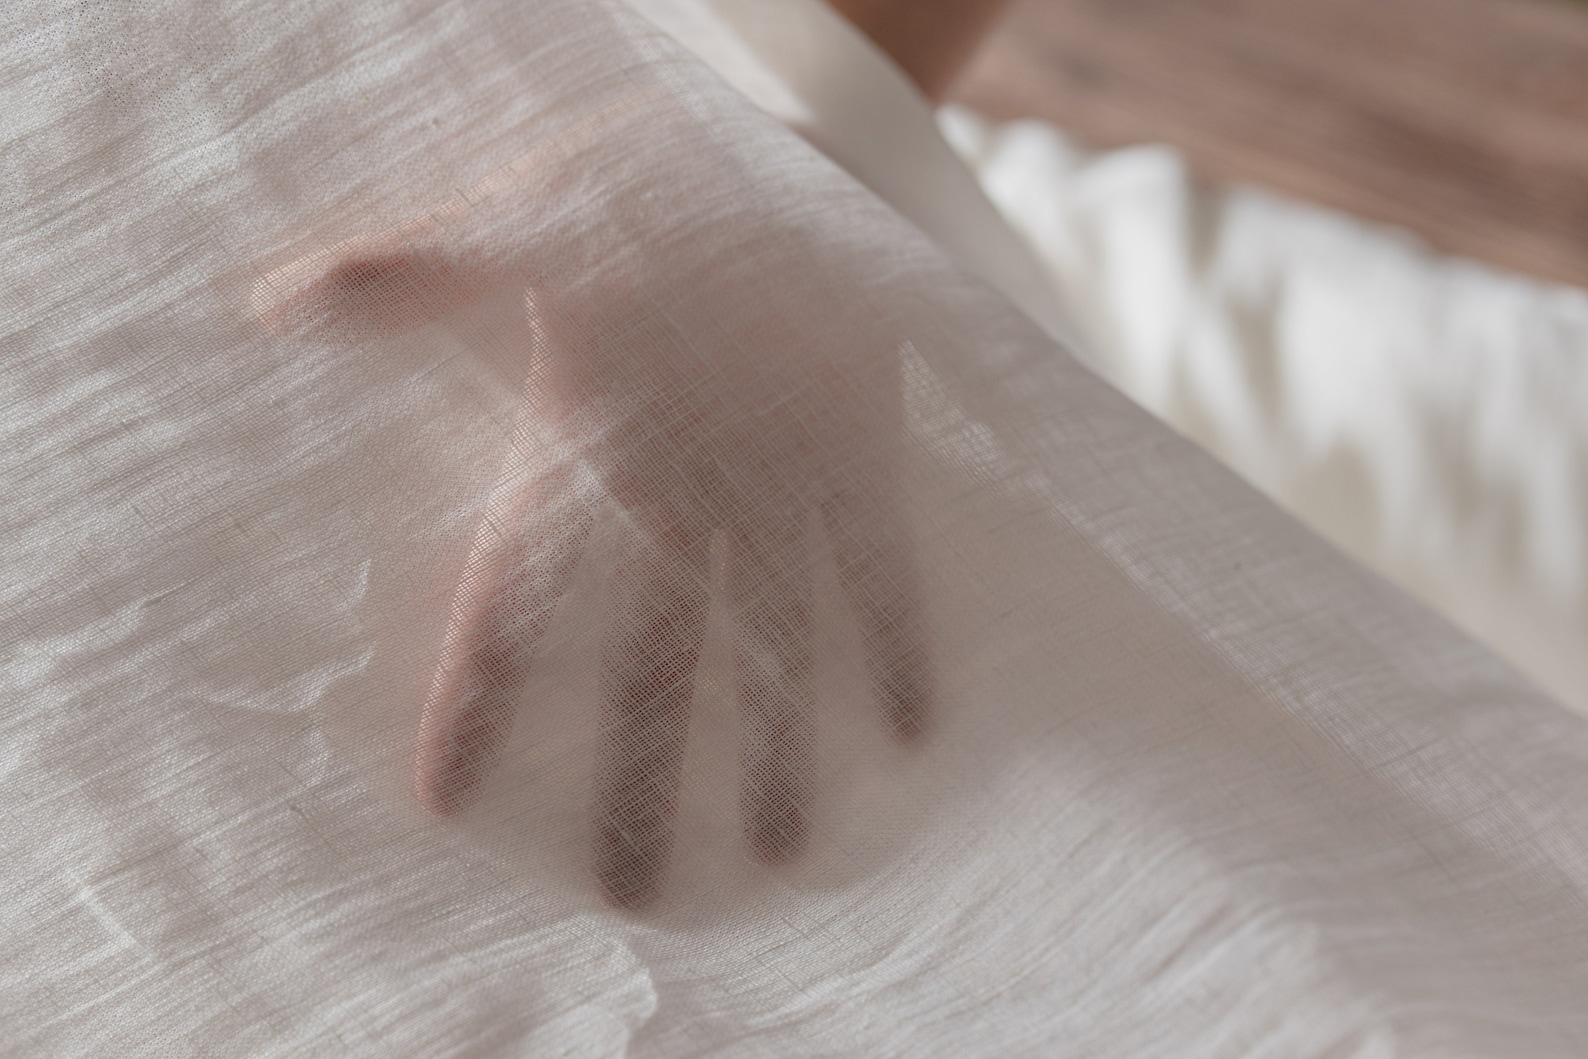
The easy, cute and low maintenance option.
If you’re looking for something that won’t get wrinkly so easily and won’t unravel if you don’t overcast the edges then…
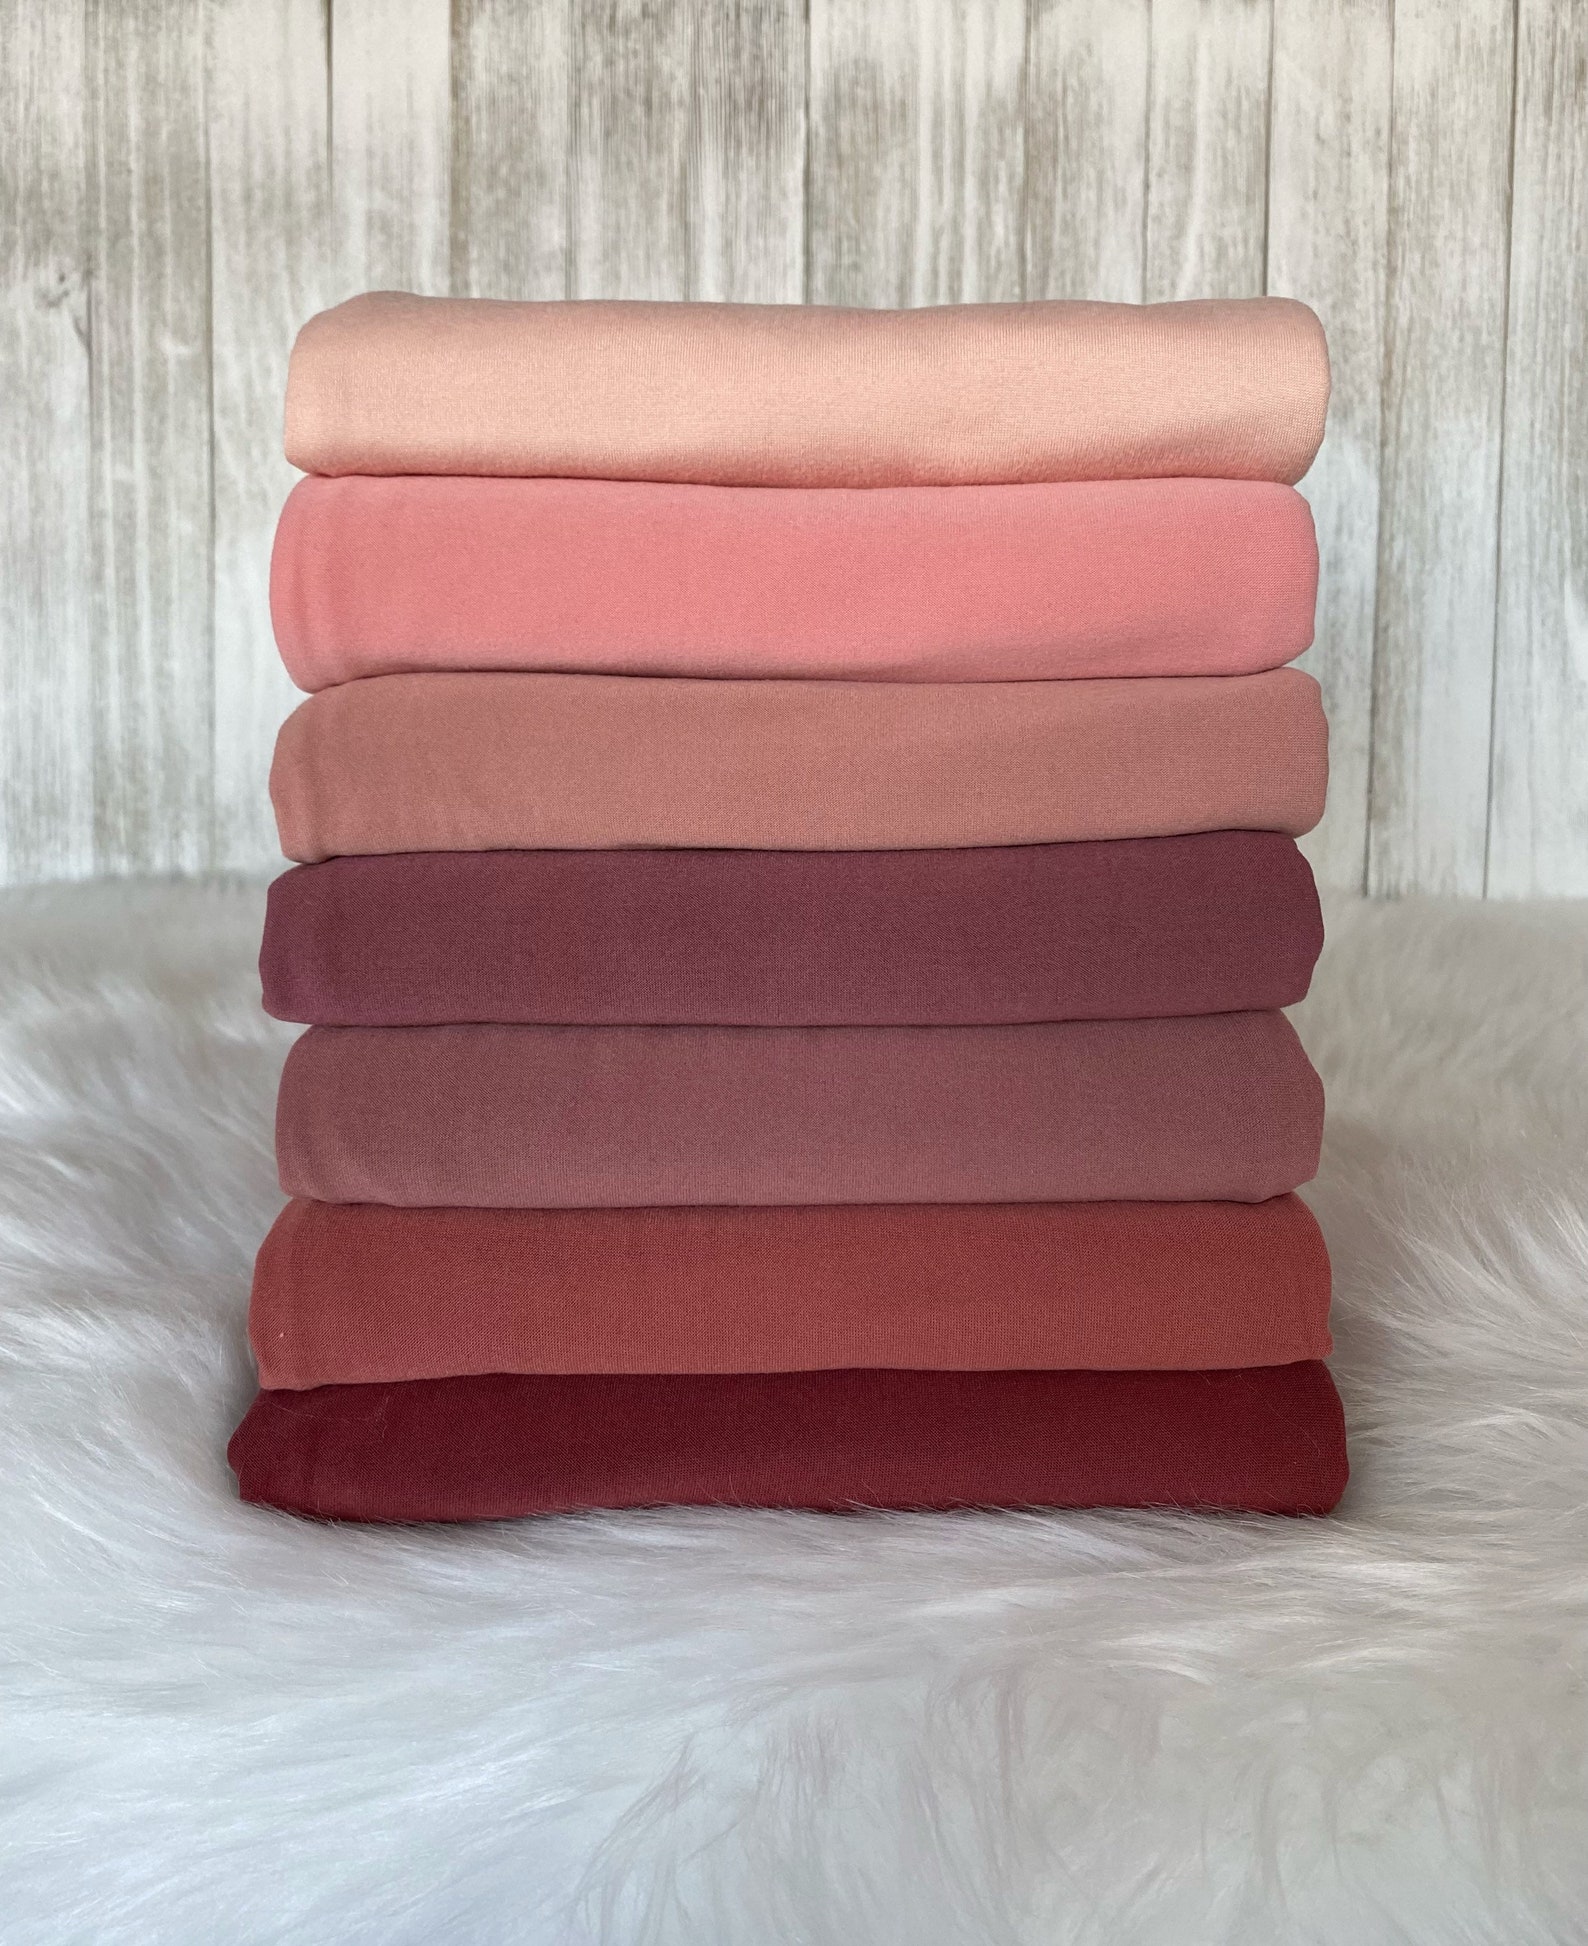
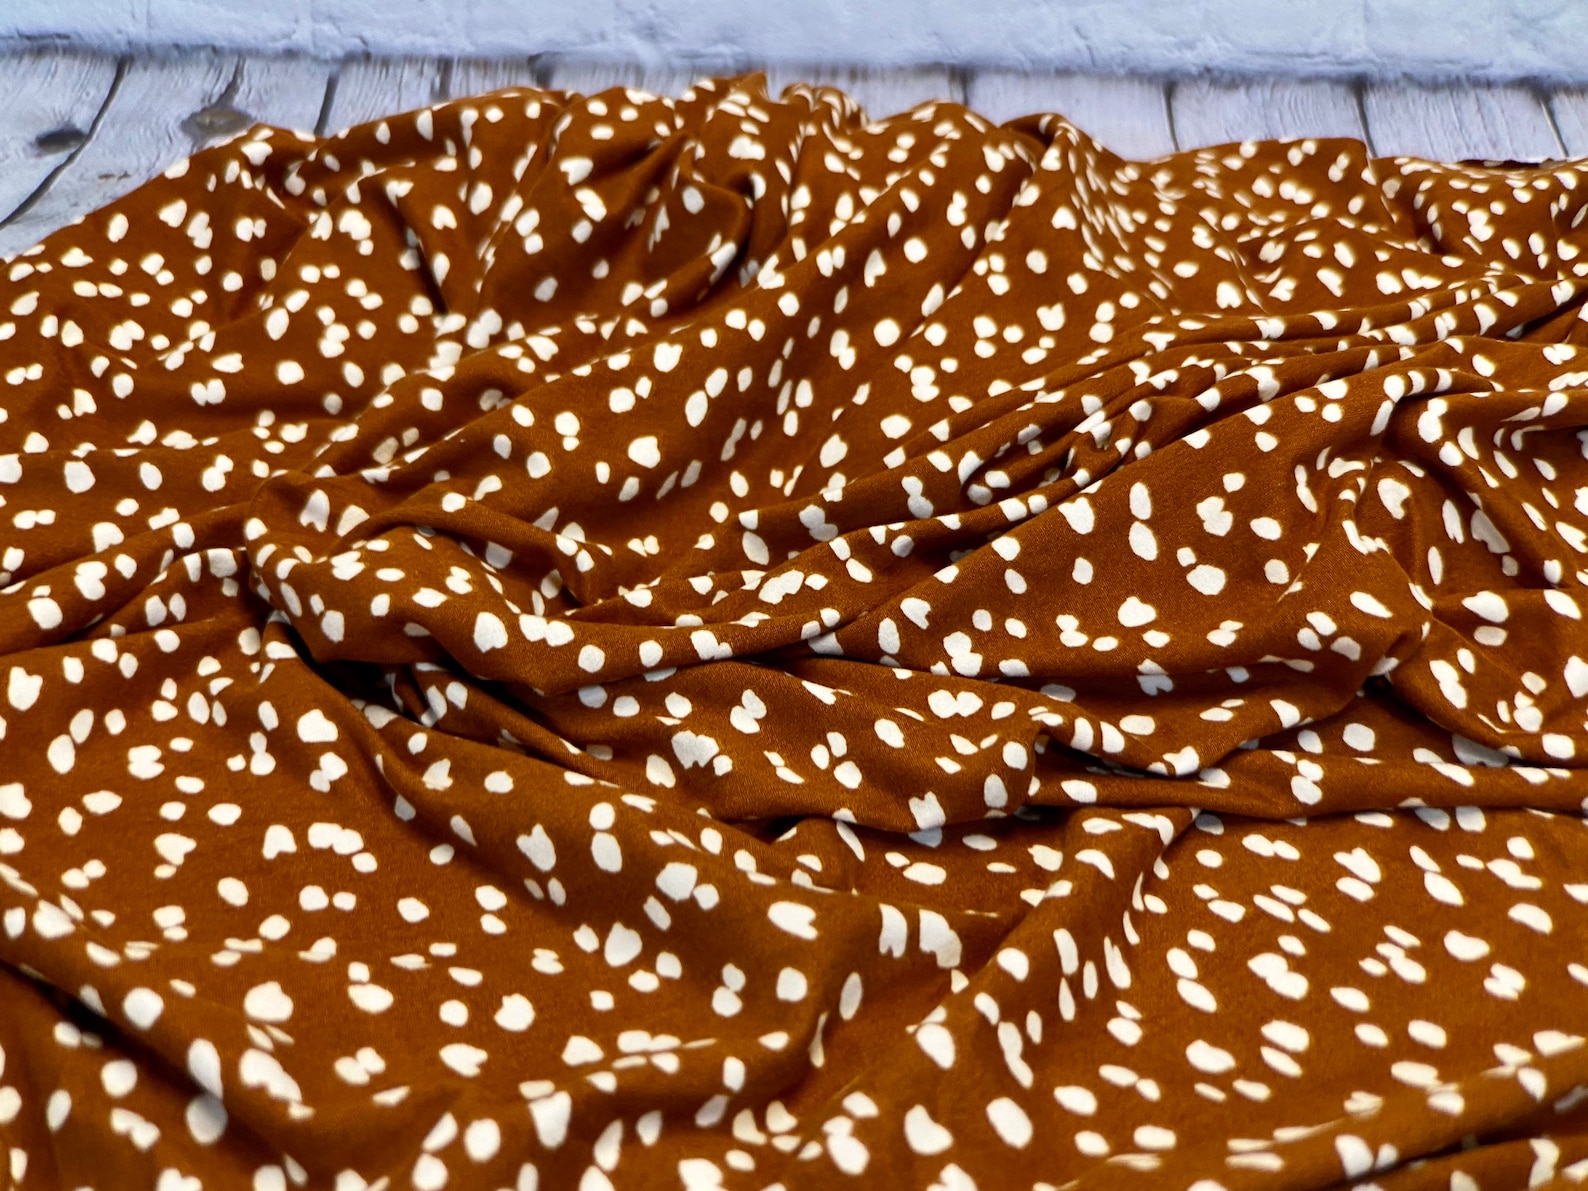
The absolute winner is polyester spandex!
-Dries fast
-Is easy to work with
-There’s some insanely cute colors and prints available
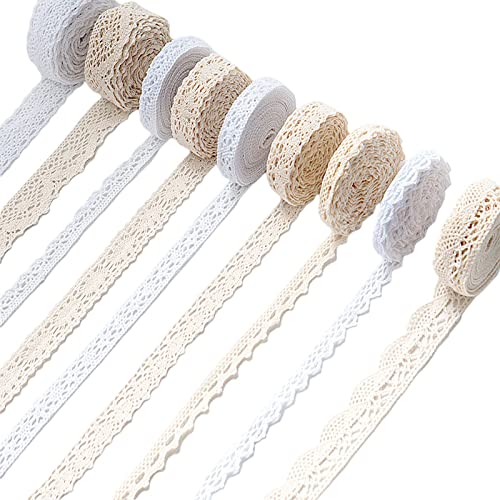
Beach cover up with pom poms
An embroidered trim or pom pom trim will make a simple swimsuit cover up look absolutely stunning!
The best part? It’s super easy to add on your DIY Kimono!
Check out these beautiful trims to give a sophisticated boho touch to your design:

Sewing tools to make a DIY beach kimono
To make this DIY kimono cover up you need:
- Scissors or a rotary cutter
- Pins (these are the BEST pins)
- Sewing machine and….
Loop turner
This isn’t a must, but it’s definitely a VERY nice tool to have in your sewing kit, not only for this kimono but for any other project that requires turning tiny tubes of fabric right side out.
If you’ve ever struggled turning straps using safety pins, or a needle with thread (that breaks halfway through) then, say bye-bye to those old ways and make this baby your new best friend.

Kimono cover up pattern
Here’s the easiest beach cover up pattern you’ll find!
You don’t even need to draft it on paper—go straight to cutting the fabric! It’s just two squares of 1 yard × 1 yard (36″ × 36″). For my fellow metric system users, that’s about 91cm × 91cm. 😄
To make the back of your kimono you’ll use one of the squares as it is.
To create your front pieces, take the other square and cut it in half.
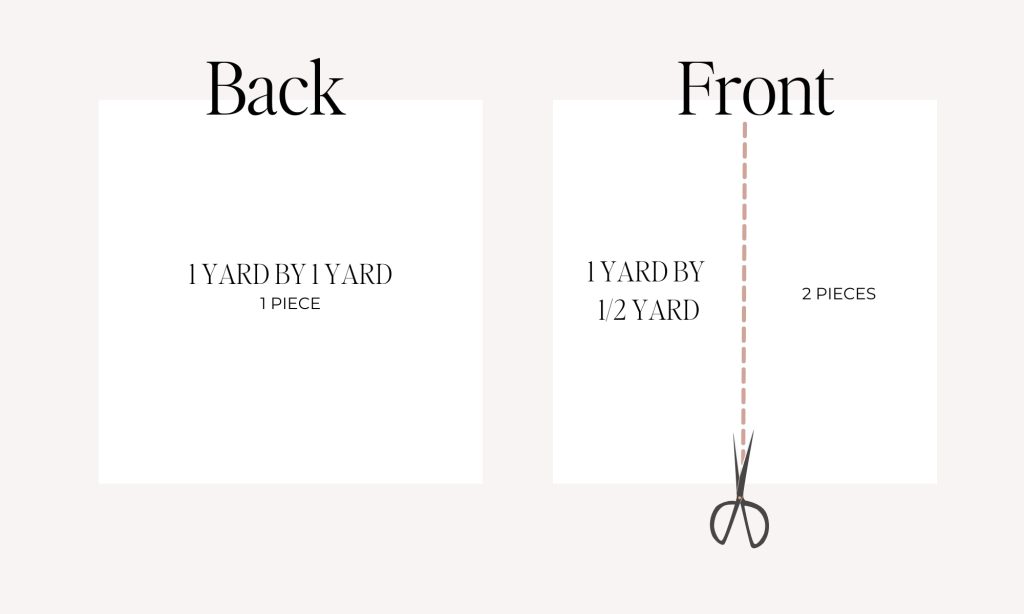
Yup. that’s it! There’s no need to cut extra pieces for the sleeves of this DIY Kimono.
How to make a kimono easy!
After cutting the swimsuit cover up pattern (aka the 2 squares of fabric) you’ll be all set to start sewing!
Prefer watching instead of reading? check out this video for how to sew a beach cover up the easy way!
And in case you’re wondering how to make a beach cover-up from a towel, this insanely easy pattern is the perfect way to do it!
Towel fabric might not be the lightest option for a beach kimono, but it’ll definitely keep you dry, cozy, and looking cute!
DIY Kimono Cover-Up: Final Thoughts
Making your own DIY kimono or easy-sew beach cover-up is as simple as these four steps:
- Pick your fabric.
- Cut two squares of fabric, then cut one of them in half.
- Sew them together following the video tutorial.
- Add an embroidered trim for the final touch.
And voilà—it’s time to shine, baby! ✨
This project takes less than two hours and will add both comfort and style to your spring and summer wardrobe.
Keep dreaming and keep creating, the power of turning the invisible into visible lies in your hands.


I love this and can’t wait to try it. I want to make matching one for my daughter. Any thoughts on reducing the size of the fabric down to make a kids sized one?
Omg, Amanda, that’s such a cute idea!! I’d make the square size the length you want for your girl’s kimono. Measure her from the shoulders to her ideal length—let’s say it’s 25″—so the pattern will be 25″ by 25″. Before finishing the raw edges, try it on her so you can adjust the sleeves or length if needed. Good luck! 💖
I love this! But I have never seen fabric one yard wide. Fabric normally comes 44 inches wide.
So do you mean just fold out 1 yard length of fabric to 44 inches wide for the back? Cut another 1 yrd in length piece of fabric into two pieces so you have 22 inches on each side for the front? Thanks.
Hi Barbaa! Thank you sooo much for your comment 😍 Okay so—1 yard = 36 inches (or like ~91cm for my metric sistrens 😂). I use cm where I live, so I literally just realized yards aren’t a universal thing for width… whoops!🫣 You’re an angel for catching that—I’ll fix the text to make it clearer! 🫶
PS— If you do the 22 inches per side, you’ll get more dramatic long kimono sleeves. But if you wanna customize it before cutting the fabric, then:
Grab your measuring tape and place the starting point at the center of your chest then stretch it out along your arms (Extend your arms straight out to the sides like a ✨T-pose✨) and see where your ideal length would be. For the length measure fron your shoulders to where you want it to be, maybe knees or a lil bit higher? Then those would be the measurements to cut the pieces, which could be more of a rectangle than a square 🤩 Hope this helps! xo 💖