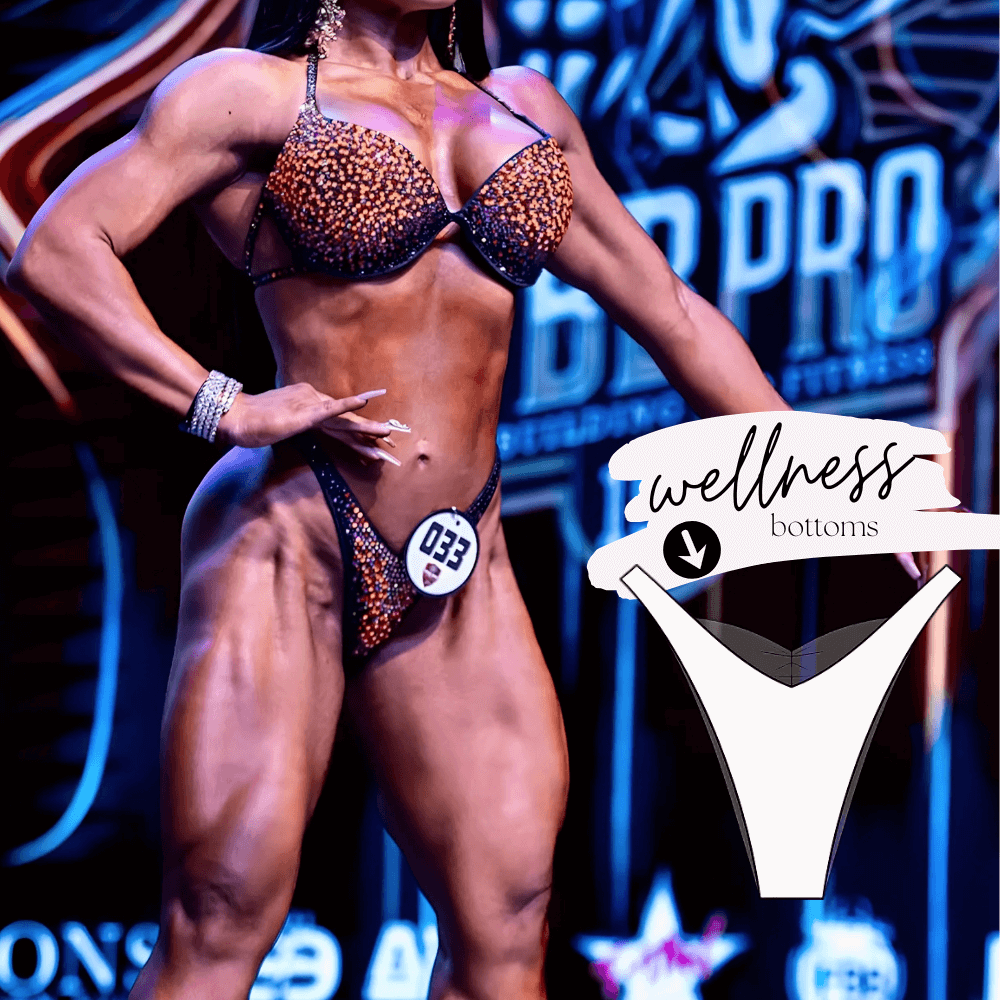
Make Your Own Wellness Competition Bikini Bottoms
DIY Euro-cut Competition Bikini Bottoms
There’s nothing like the feeling of slipping into a bikini you made with your own two hands—especially when it fits just how you want it! ✨
Whether you’re competing in the Wellness category or need a Euro-cut style for certain Bikini leagues, sewing your own gives you total control over the look, the fit, and the vibe you bring to the stage.
After reading this post, you’ll be ready to create gorgeous Wellness or European style bikini bottoms that show off your hard work—and make you proud every time you wear them! 😍

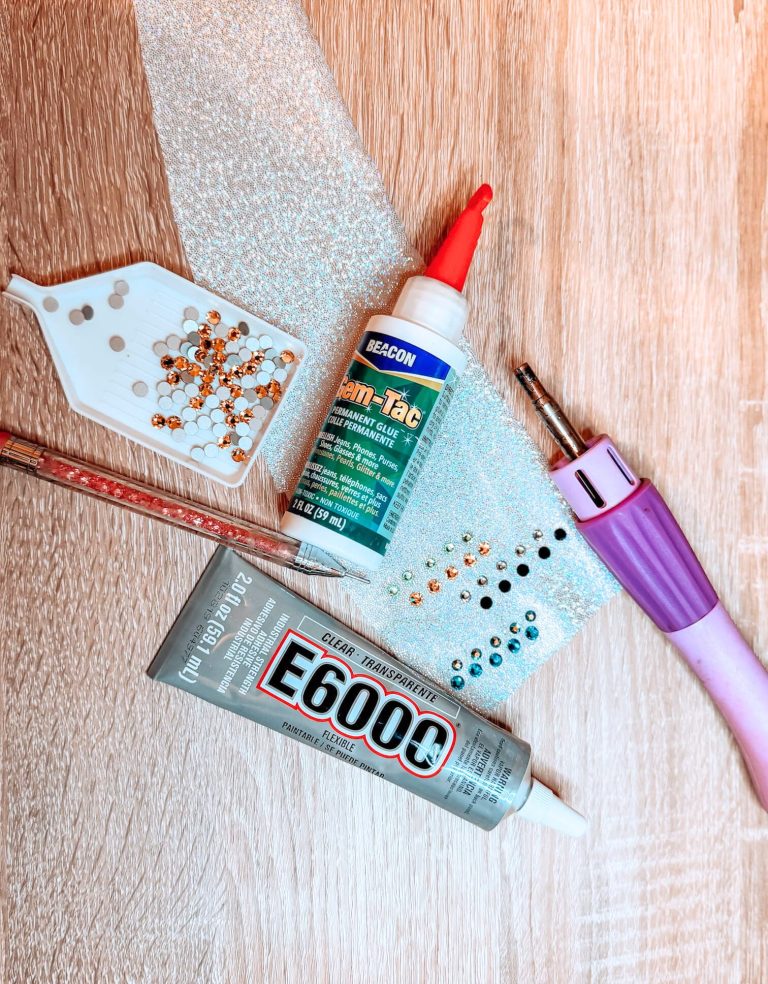
Materials You’ll Need
Here’s a quick rundown of the fabric, lining, elastic, and a few tools I recommend for getting that clean, pro-looking finish so you can grab exactly what you need and skip the guesswork!
Fabric for Euro-Cut Bikini Bottoms.
For this style, you’ll need about 0.50 yards (roughly 45 cm) of fabric.
If your fabric width is at least 58 inches (147 cm), you’ll have enough room to cut both the bottoms and the top!
I’ve got three fabric recommendations for you — depending on the look you’re going for and your budget!
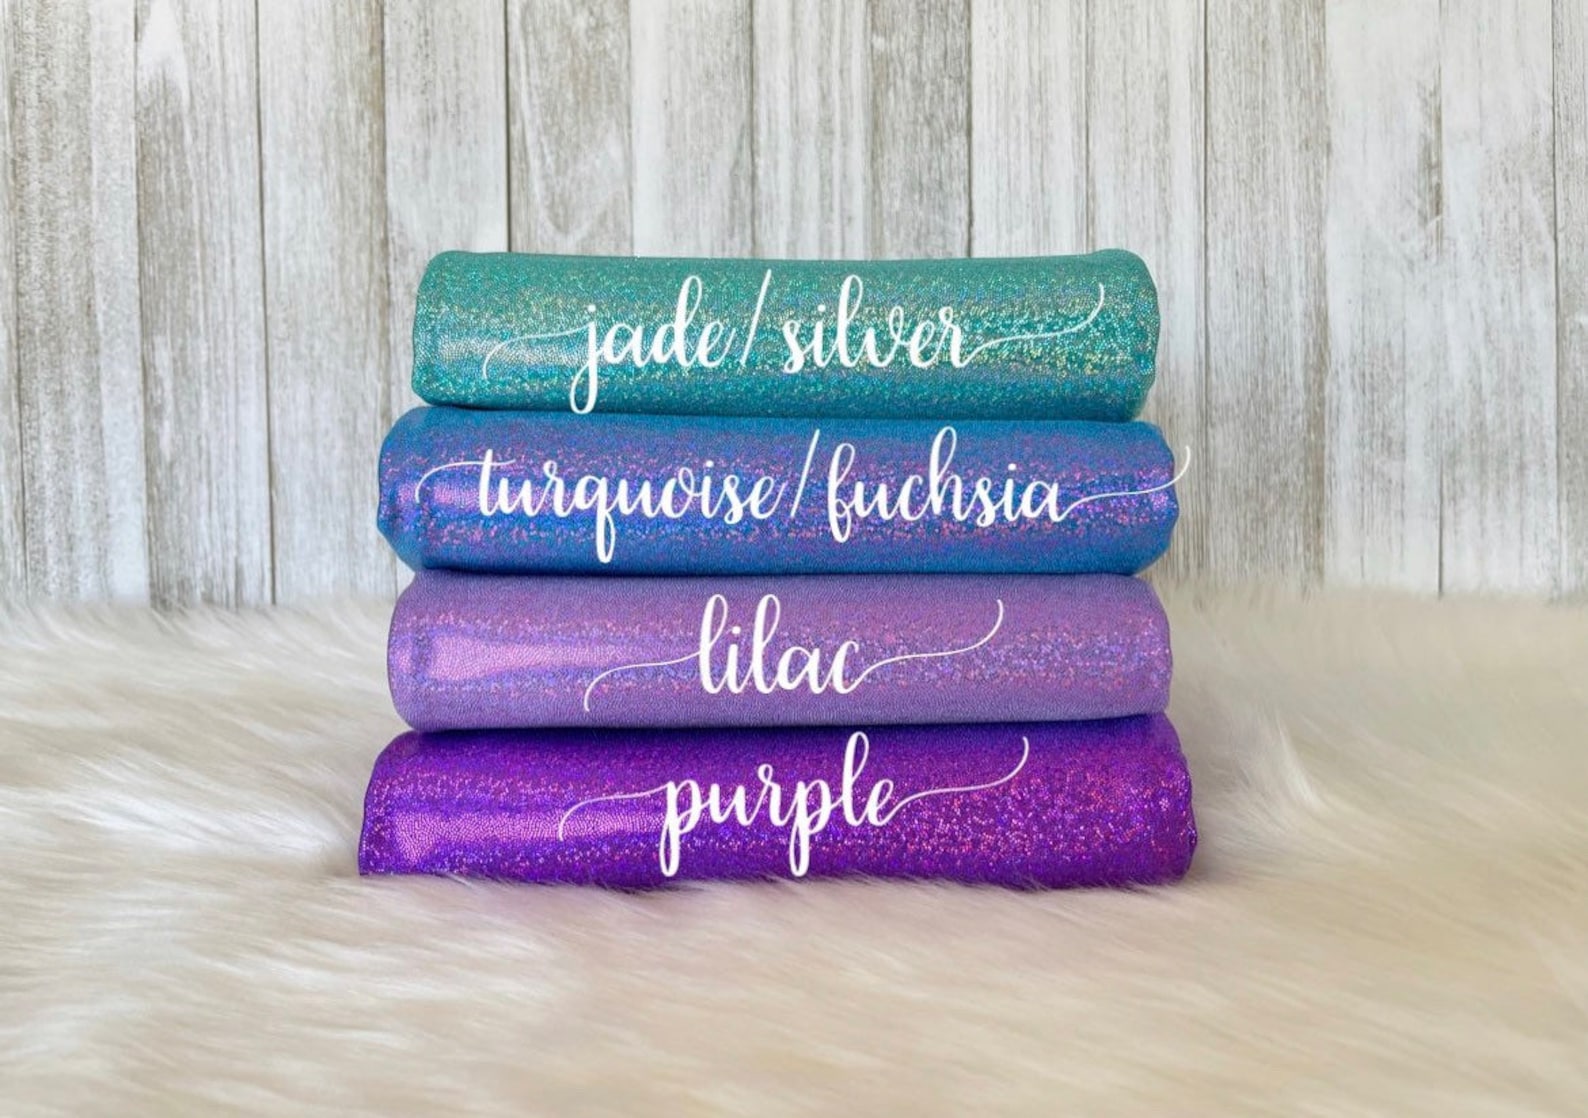
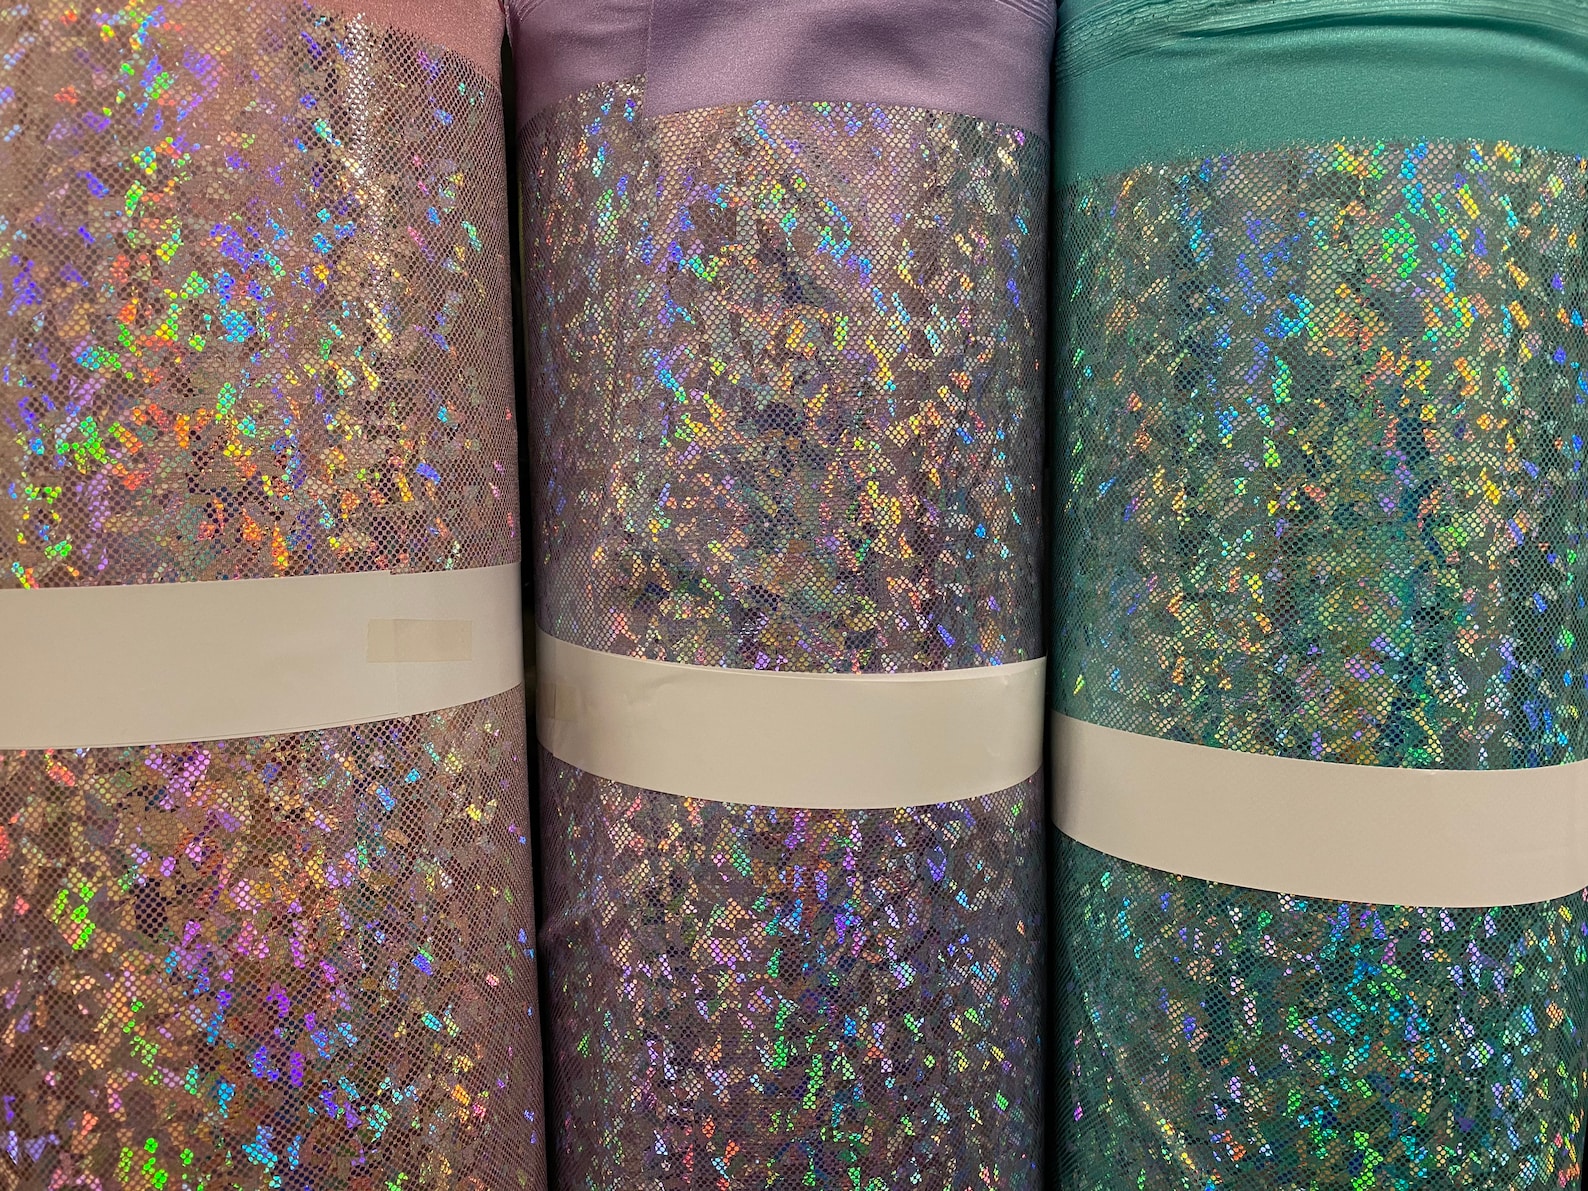
1. HOLOGRAphiC FABRICS
First, you can totally use holographic fabrics — just like you would for American-style bikini bottoms.
I love Mystique for those tiny sparkle dots, and Shattered Glass if you’re going for a more dramatic holographic effect.
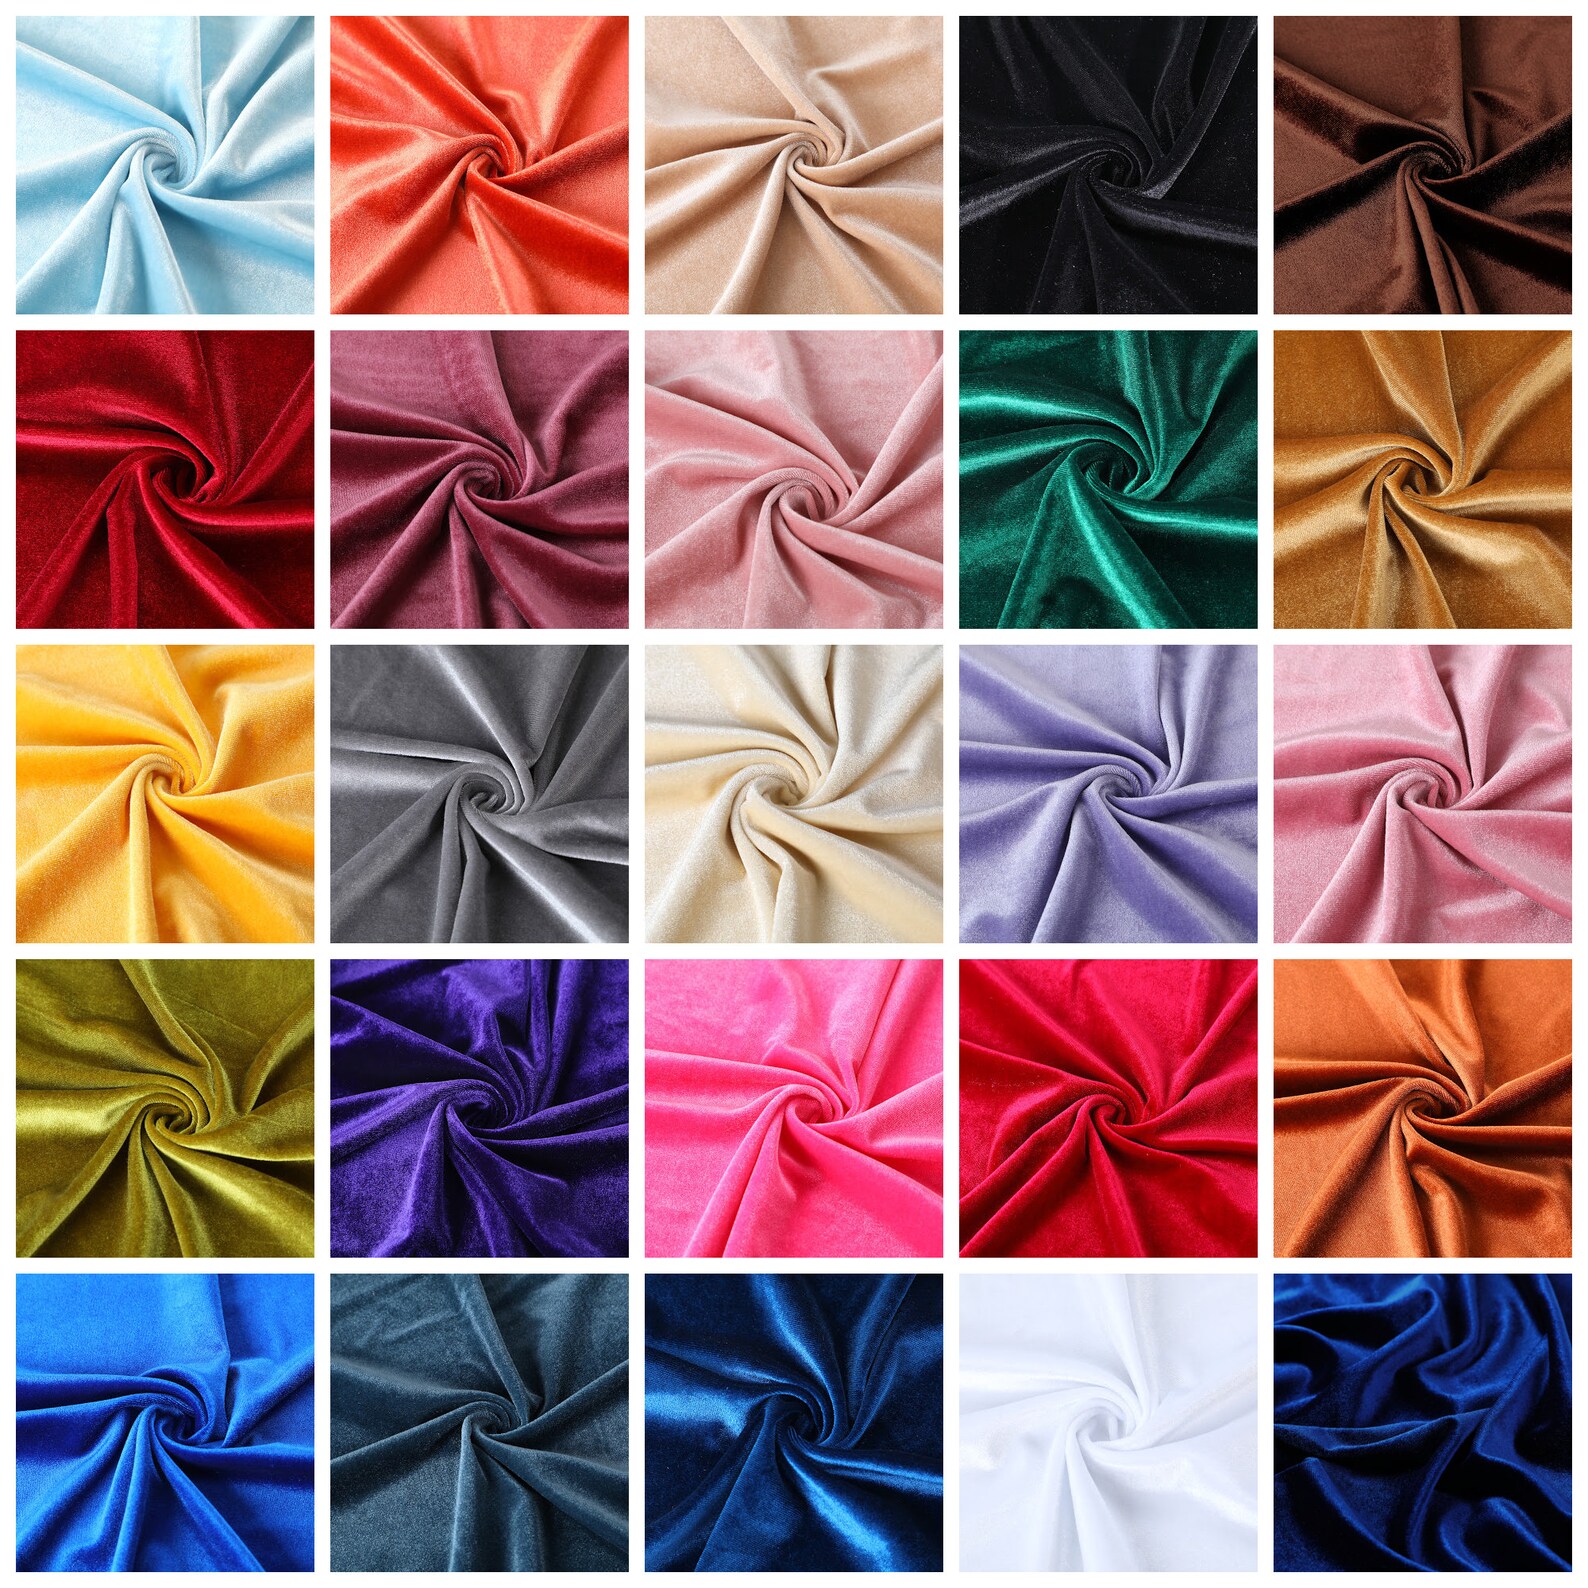
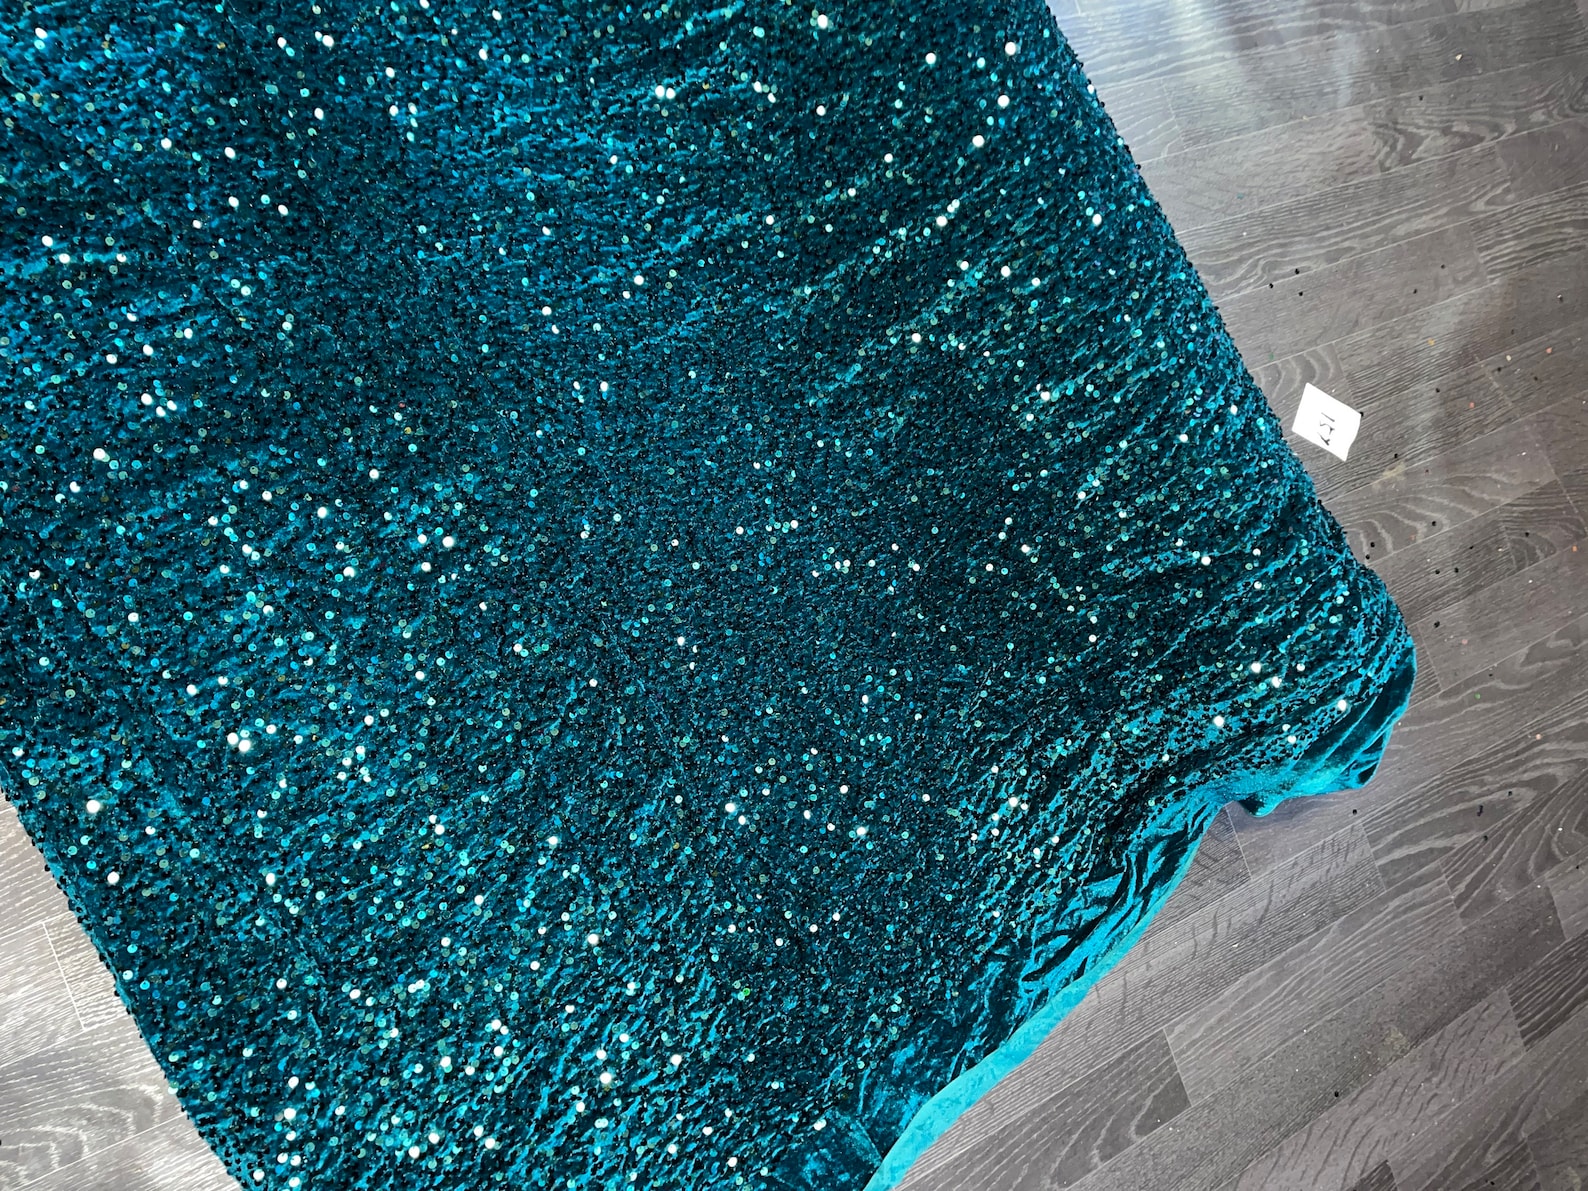
2. Velvet Fabric
Stretchy velvet is also super popular for this cut! The texture is extra soft and looks absolutely amazing when paired with rhinestones 😍.
However, you can also find glitter velvet for a subtle, lovely sparkle — or go all out with sequin velvet for instant shine right from the start!

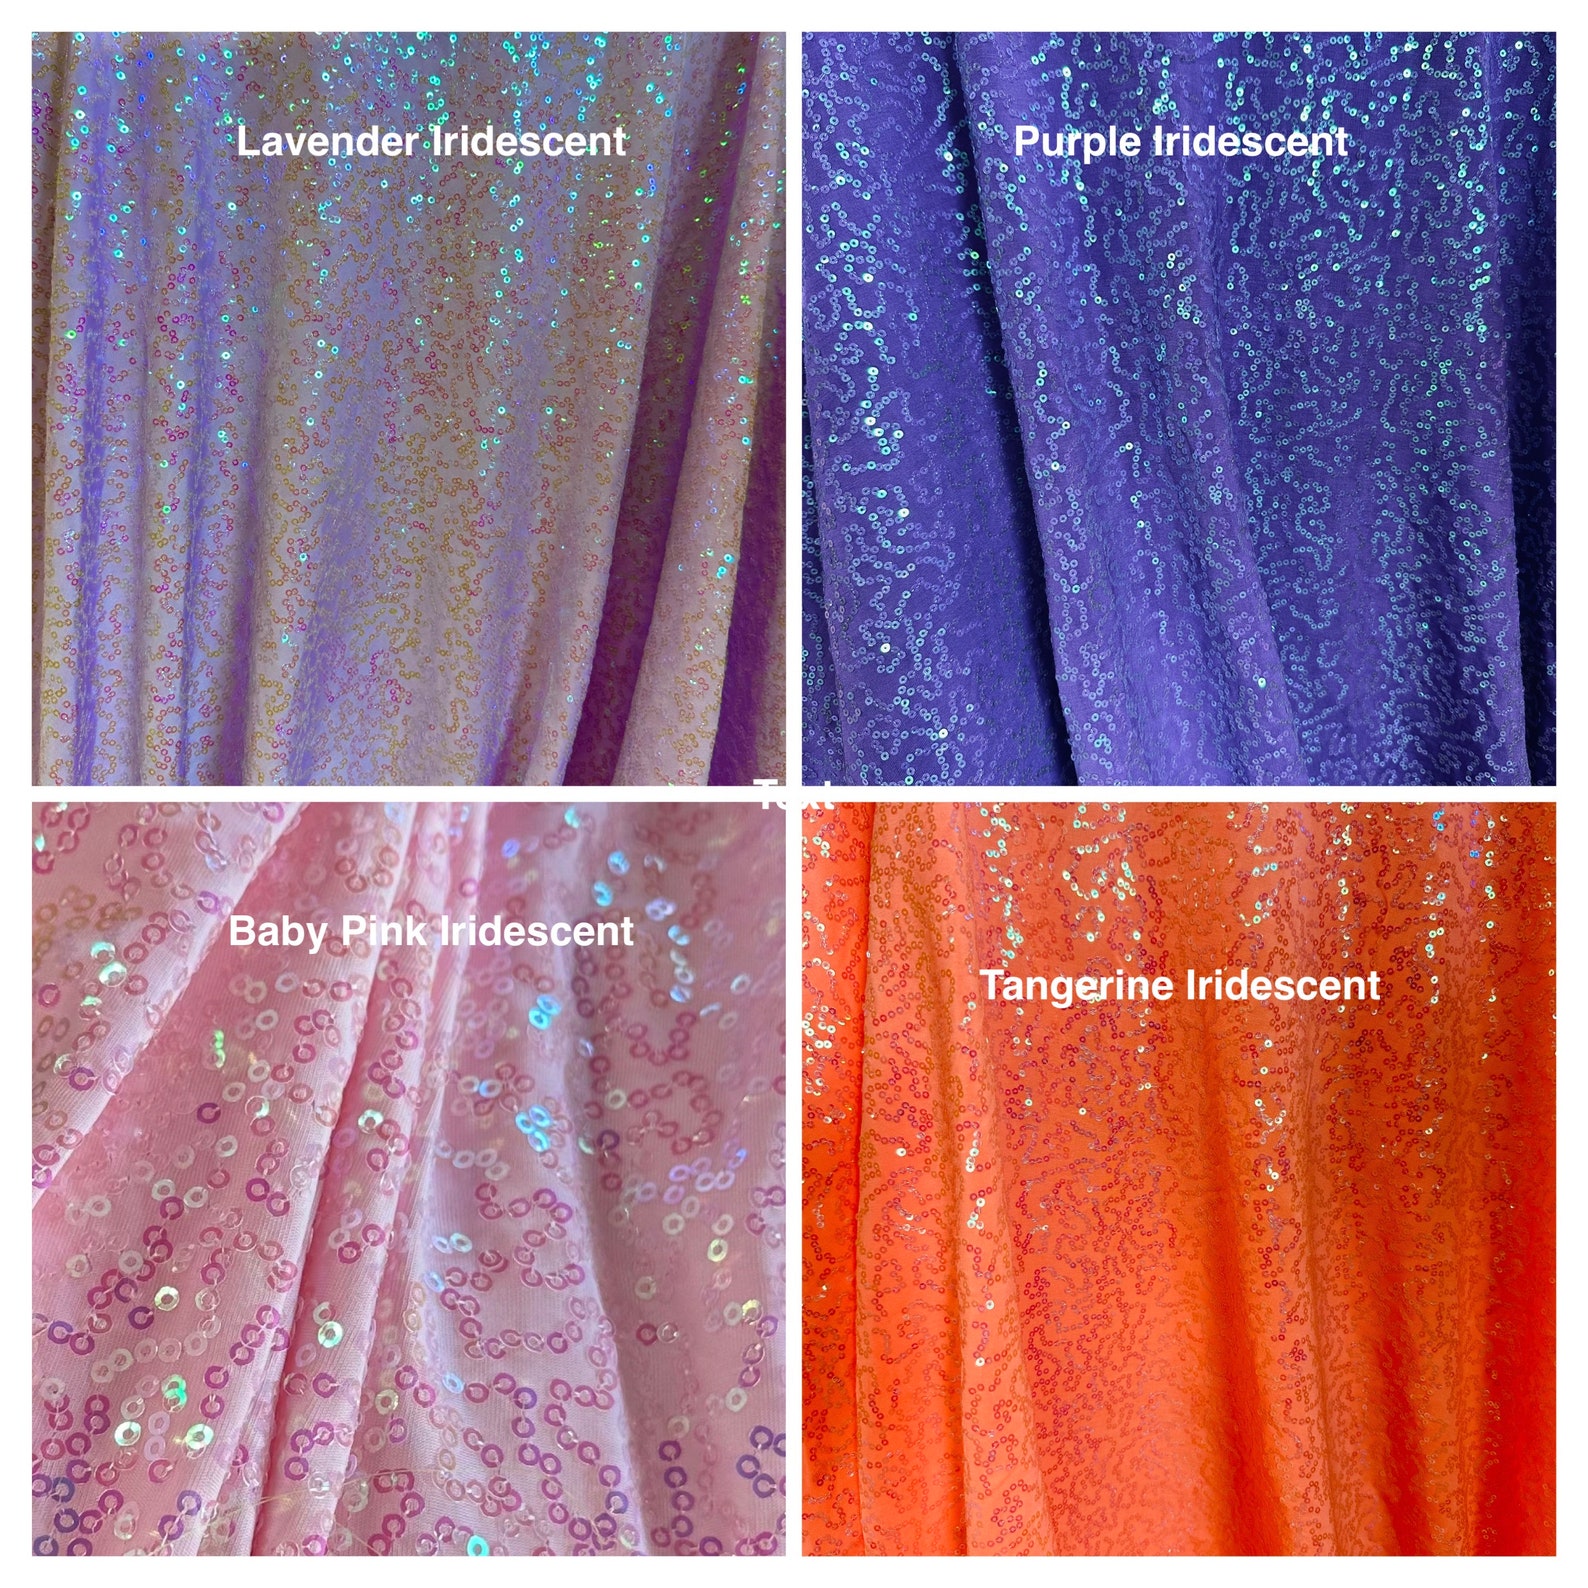
3. Mini Sequined Fabric
And if you want something shiny without spending a fortune on rhinestones, another great option is stretch sequin fabric (that’s actually what I used in the video tutorial below!).
Here are two types of stretch sequins I’ve used for competition suits — and there are sooo many gorgeous colors to choose from. If you’re anything like me, you’re gonna want them all! 🫣

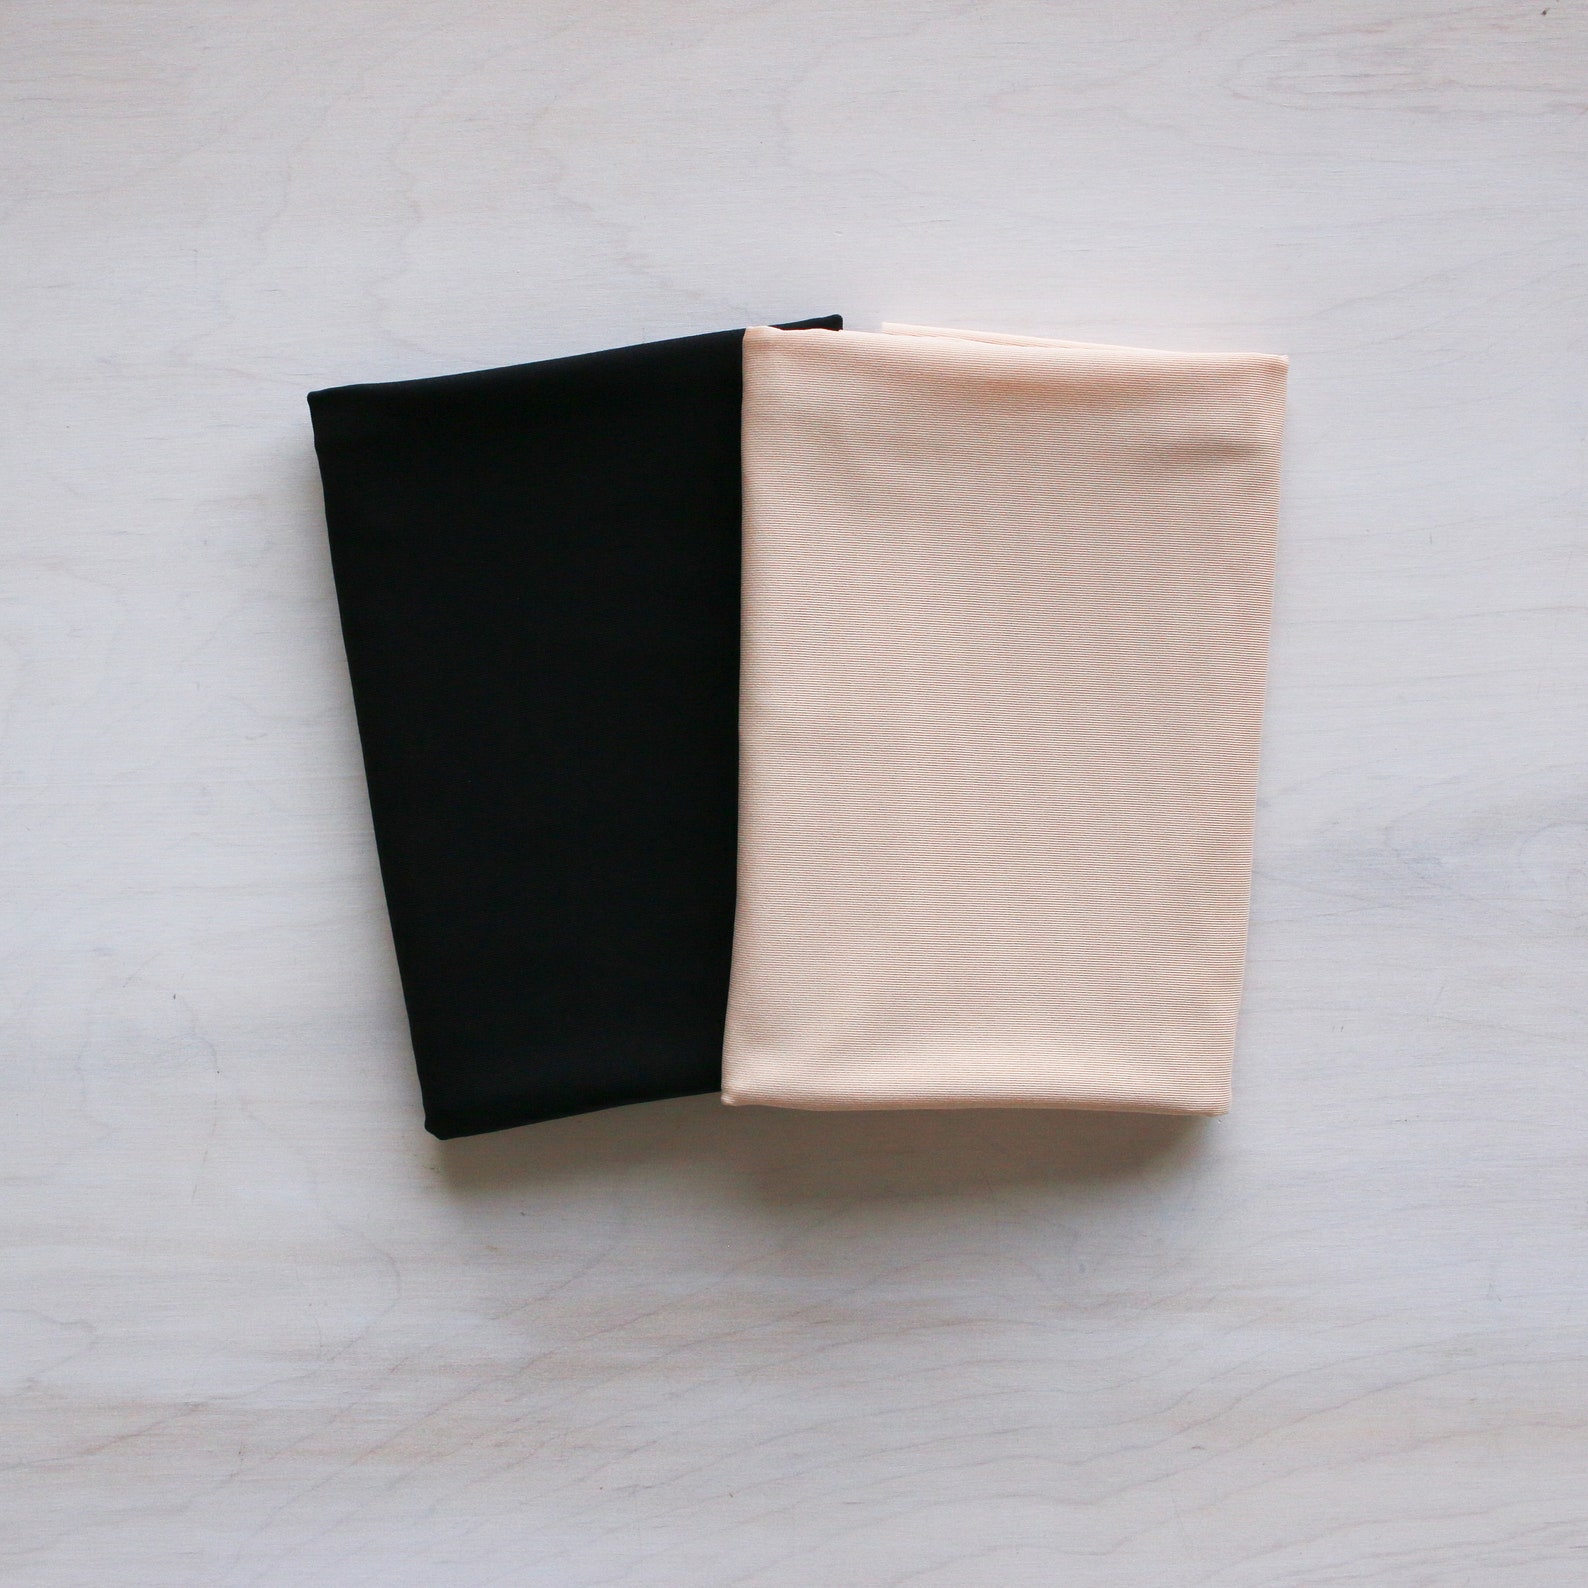
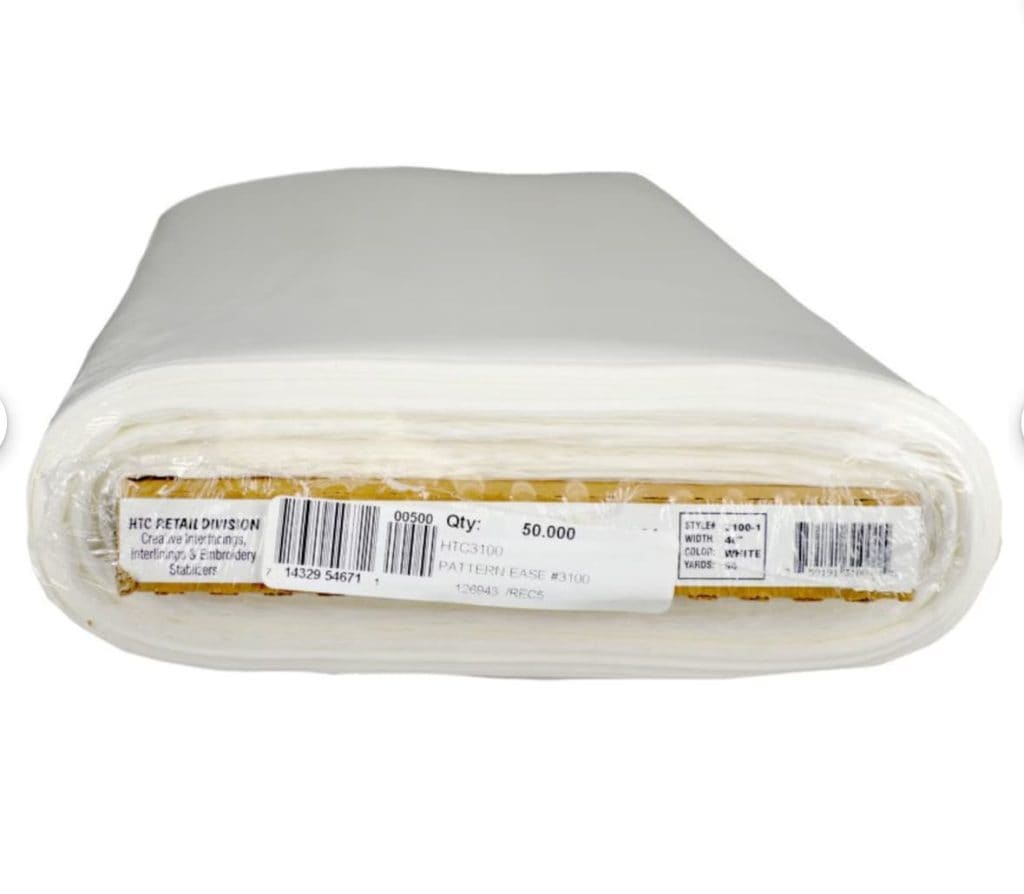
Lining Fabric (Optional)
I also like to use lining fabric for my bikini bottoms. It’s not essential, but it definitely helps!
Lining keeps all the seam allowances hidden and gives your bikini a more polished, professional finish.
Elastic for Wellness Competition Bottoms
I like to use two types of elastic: 1/4-inch for the top edges and 3/8-inch for the sides and leg openings. This way, the legs and booty get a good amount of support, while the waistline has a more subtle, seamless finish. 🙌
You can use either rubber or cotton elastic. My go-to is cotton, because in my experience it’s way easier to sew, and when you get a high-quality one, it keeps its shape for years and years!


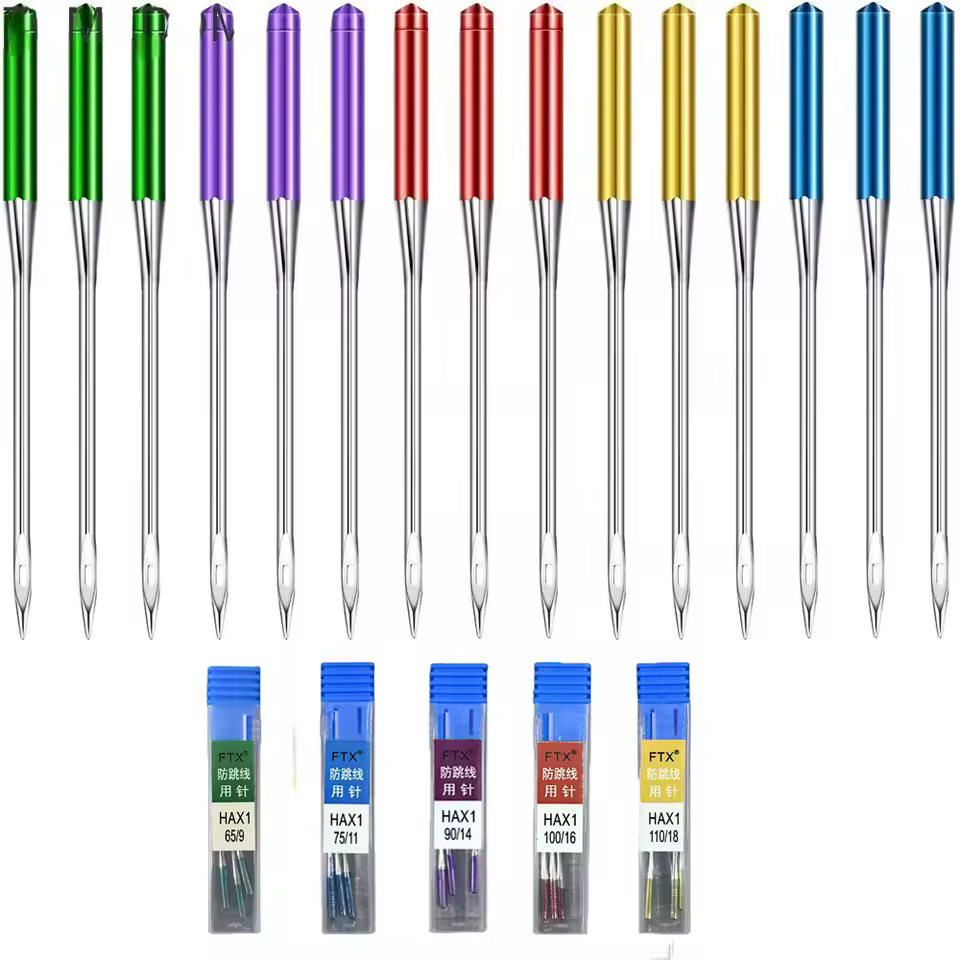
The Right Needle for Stretch Fabrics
This one’s non-negotiable if you want to avoid a sewing meltdown. 😂
If you use a regular needle on stretchy fabric, your machine might start skipping stitches! That’s because regular needles kinda “stab” the fabric instead of gliding through it like stretch needles do.
I like to use a 75/11 stretch needle—Schmetz is usually my go-to. But recently, I found a different brand on AliExpress, gave it a shot, and it’s been holding up pretty great! 🙌

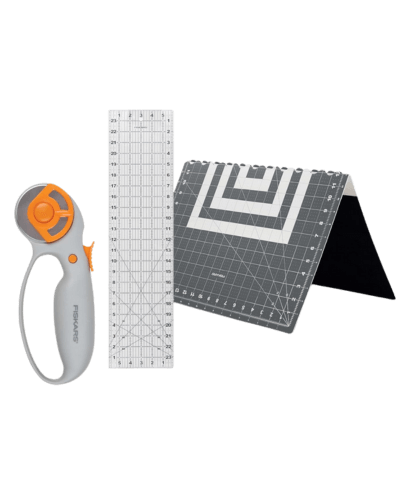
A Few More Handy Helpers (That You Might Already Have!)
These are the other sewing tools I always keep near me when making these bikinis:
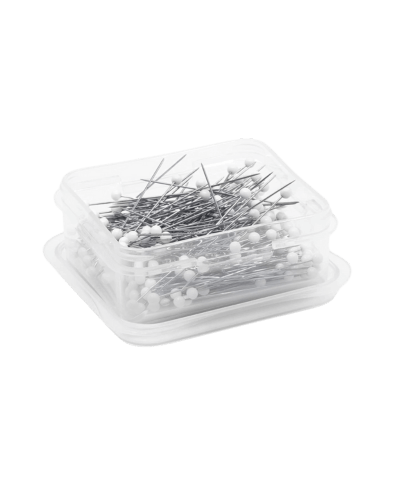
Pins: Super helpful for holding your pieces exactly where you want them. I like using fine, sharp ones so they don’t leave noticeable holes in my fabric.
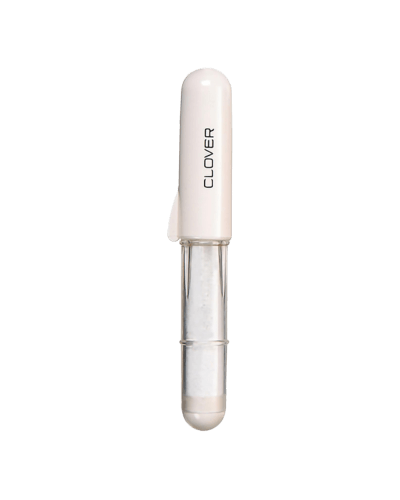
Fabric Markers or Chalk: These little tools are lifesavers for drawing out patterns or marking adjustments without damaging your fabric.
Sewing Gauge: It’s a tiny tool but a huge time-saver for measuring seam allowances and keeping everything nice and even.
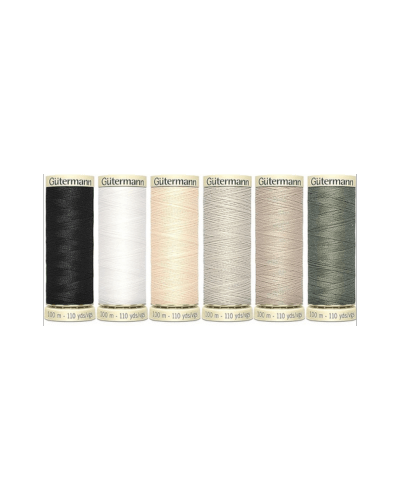
Good-Quality Thread: Trust me, this is one spot you don’t want to cut corners. A strong, smooth thread will help your bikini hold up through all the posing and sparkle.
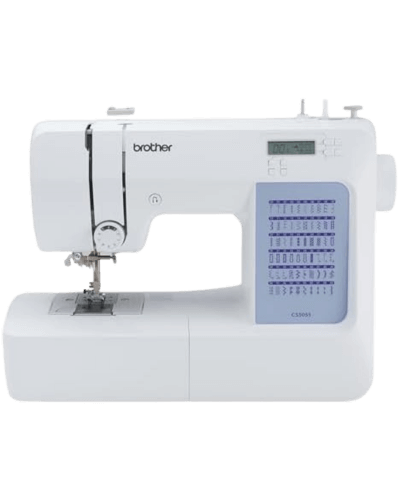
Sewing Machine: As long as it can do both straight and zigzag stitches, you’re good to go! You can find some pretty great ones these days without breaking the bank.
My Other Essentials


Euro-Cut Sewing Pattern for Competition
For this tutorial, we’ll be working with the Euro-Cut / Wellness Bottoms sewing pattern! It’s designed to give you that sleek, stage-ready shape that works beautifully for Wellness divisions—or even for certain Bikini divisions depending on your league.
With just a few clicks, you can have a digital pattern that’s been tested, adjusted, and stage-approved—so you can dive straight into sewing your new favorite bikini bottoms without all the guesswork.
PDF PATTERN
Competition Bottoms
Sewing Pattern
This PDF Pattern Features a Brazilian Back Coverage and Includes 3 Front Coverage Options:
- Petite – For heights up to 5’3″ (1.60 m)
- Regular – For heights between 5’3″ and 5’7″ (1.60 m – 1.70 m)
- High Rise – For heights between 5’7″ and 5’11” (1.70 m – 1.80 m)
Wellness bikini bottoms – DIY tutorial summary
If you’re into quick, clear steps over watching a video, this guide sums up how to sew a sleek European-style competition bikini bottom with a Brazilian back, in 5 concise parts.
Full video’s below if you want the complete picture with extra tips and tricks!
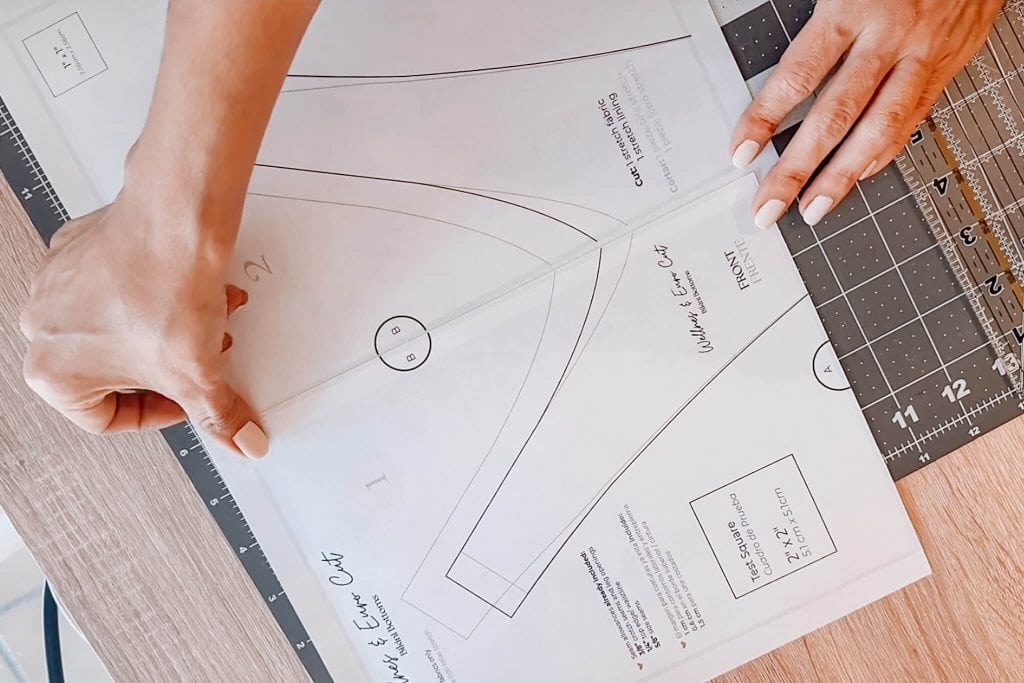
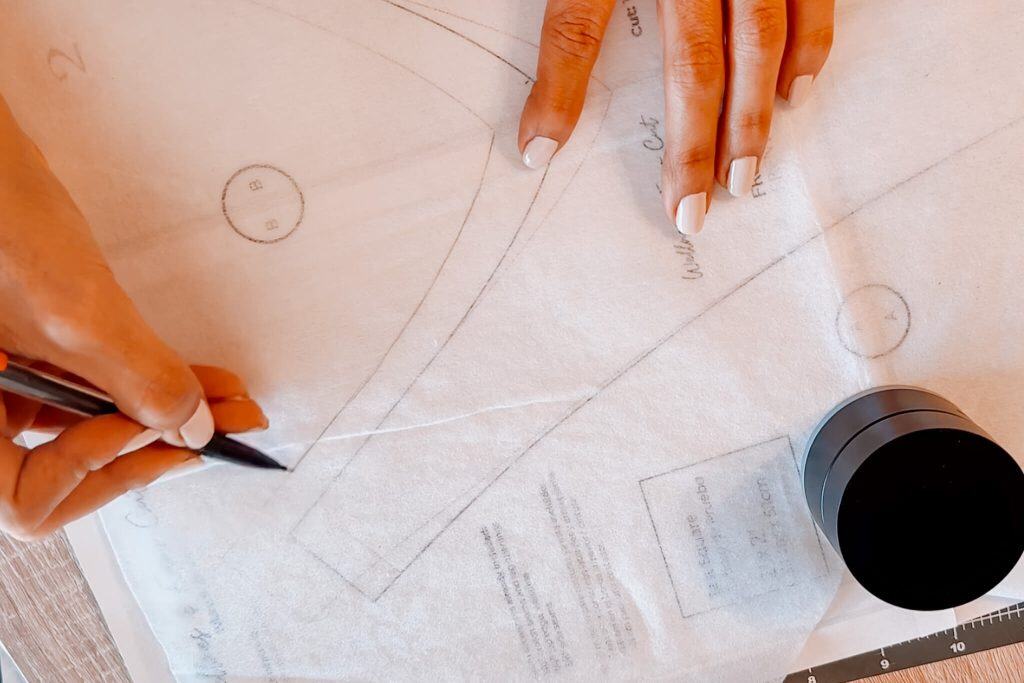
Step #1 – Prepare and Cut Pattern and Fabric
Print the sewing pattern at 100% scale and measure the test square to check everything was printed correctly. Tape the pieces together, matching letters, and I like to transfer the pattern size I’ll use onto tracing paper to preserve the original.
Then, cut one front piece and one back piece from both the stretch fabric and the stretch lining.


Step #2 – Sew Ruching on Back Piece
Mark a straight line down the center of the back piece, and place a 1/4” elastic along this line. Use a straight stitch on your sewing machine, stretching the elastic with one hand to create a gathered effect while gently guiding the fabric with the other.

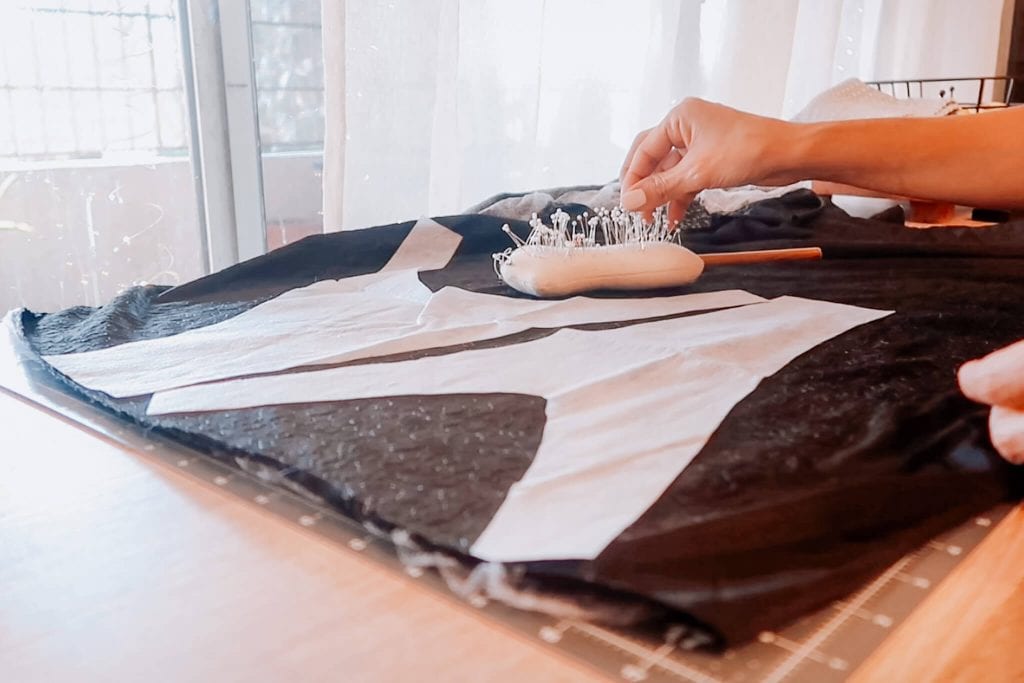
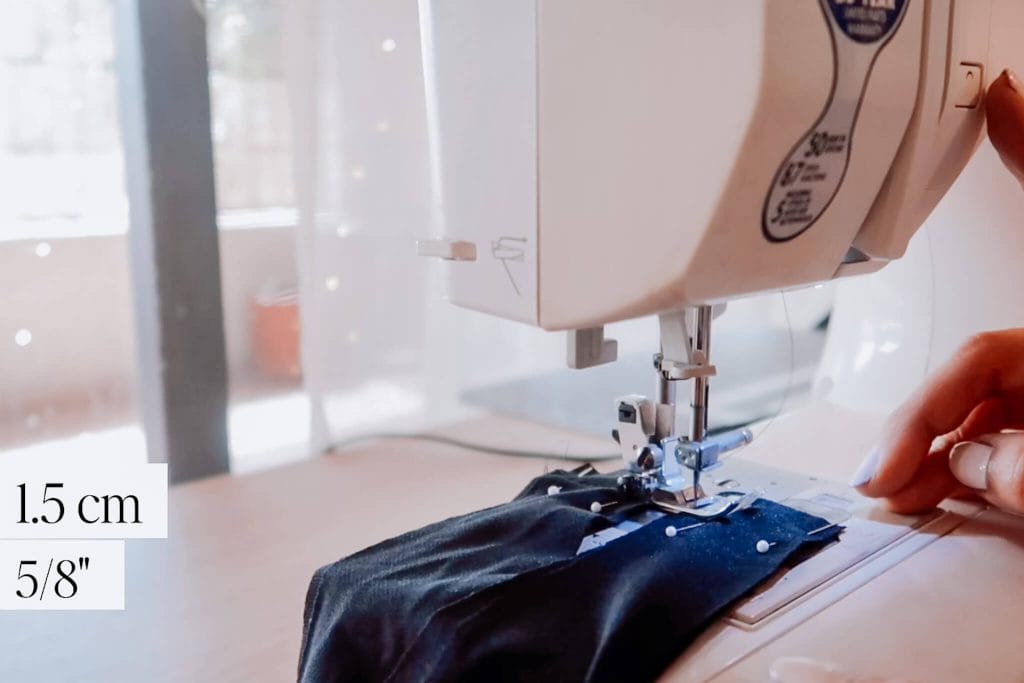
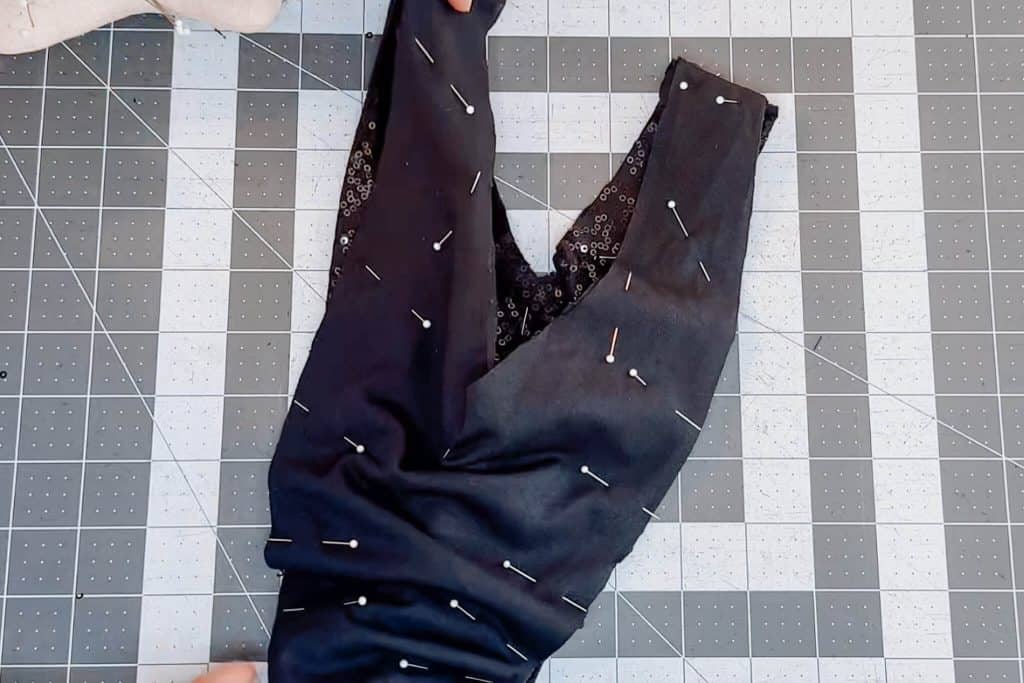
Step #3 – Join Front and Back Pieces
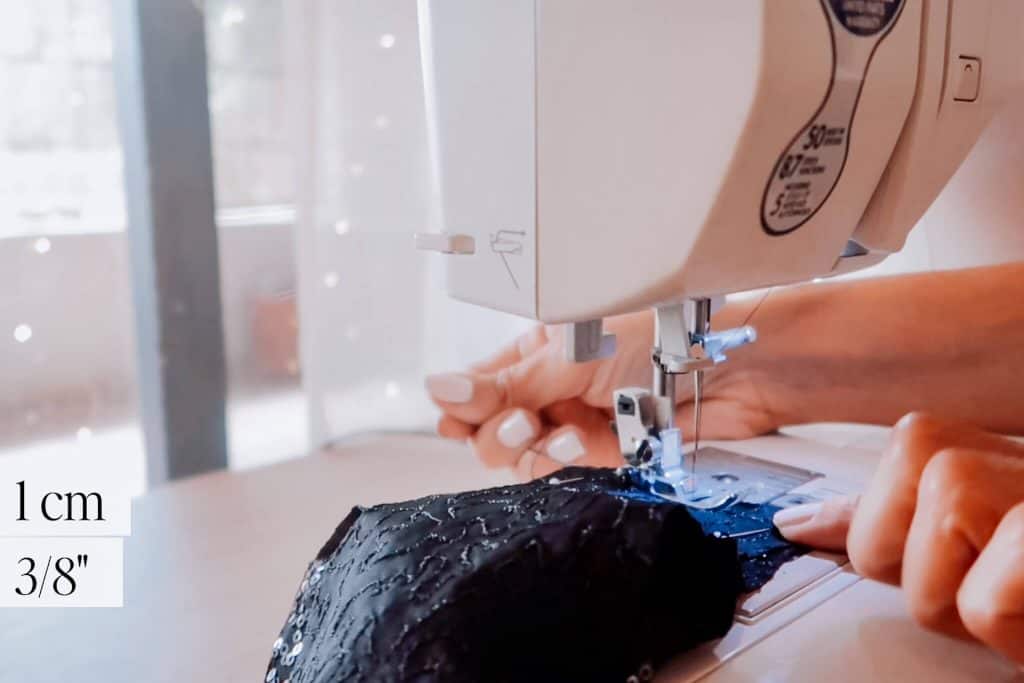
Pin the fabric front and back pieces at the sides and crotch. Sew side seams with a 5/8” seam allowance and the crotch seam with a 3/8” allowance, then repeat the same steps with the lining pieces.

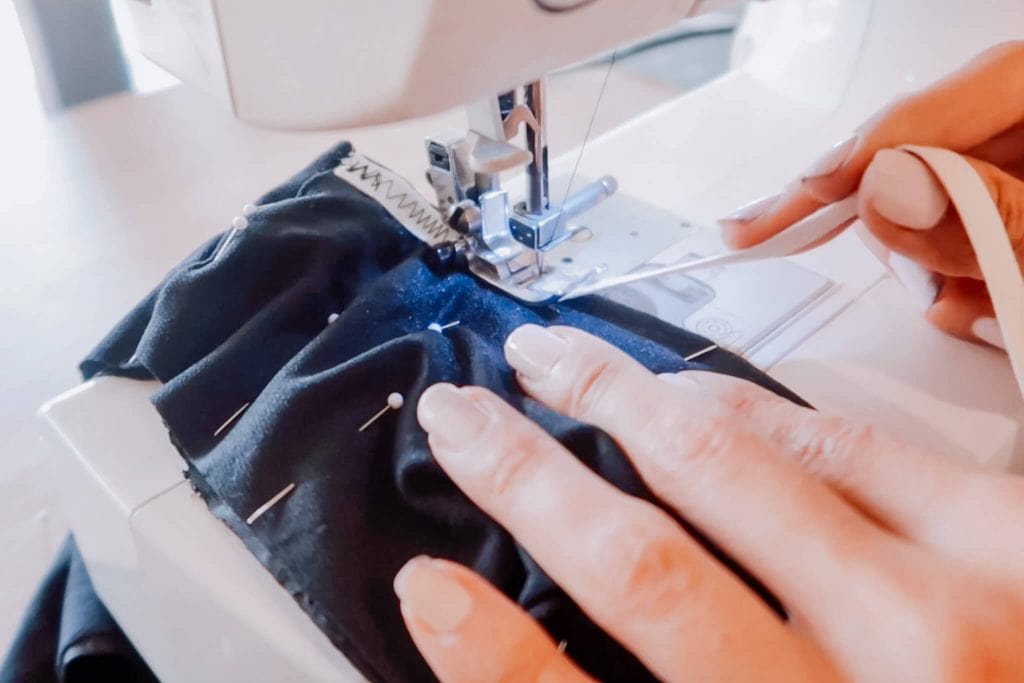
Step #4 – Attach Fabric to Lining and Add Elastic
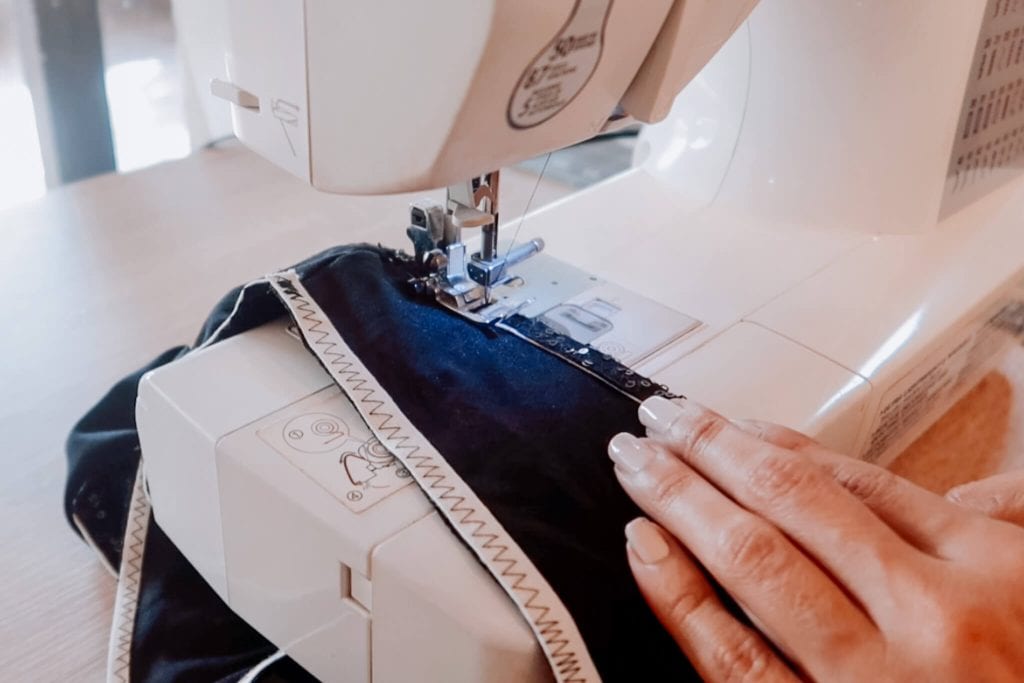
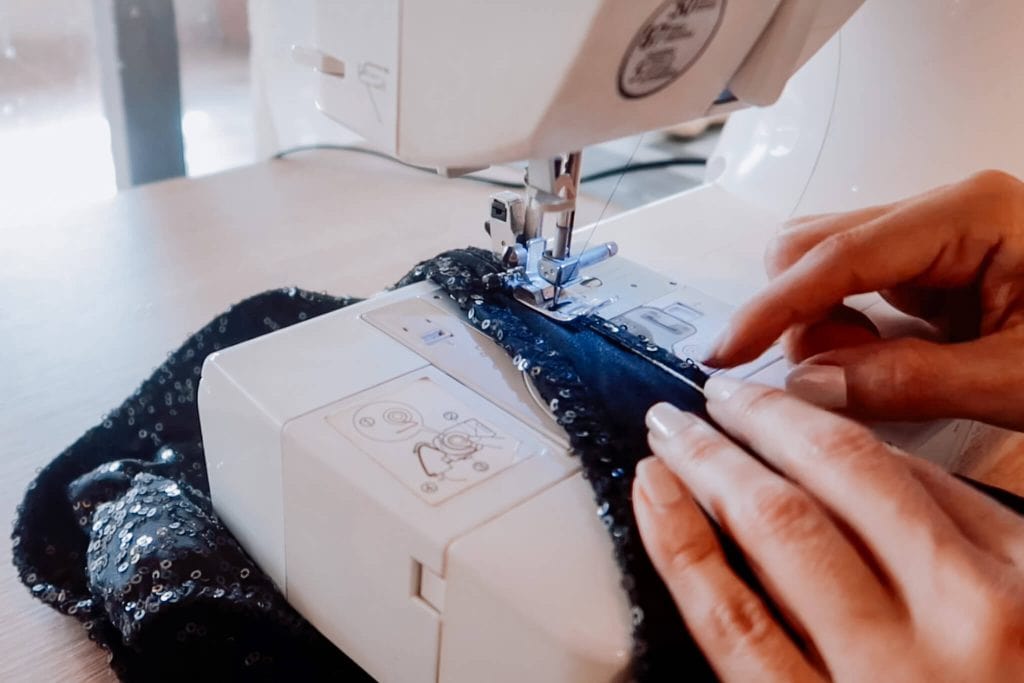
Place the fabric and lining with the good sides facing out, and pin around the edges. Using a zigzag stitch, sew the 3/8” elastic along the leg openings and the 1/4” elastic to the waistline. Sew with slight tension and after that make a small cut at the front center to help it lay flat.

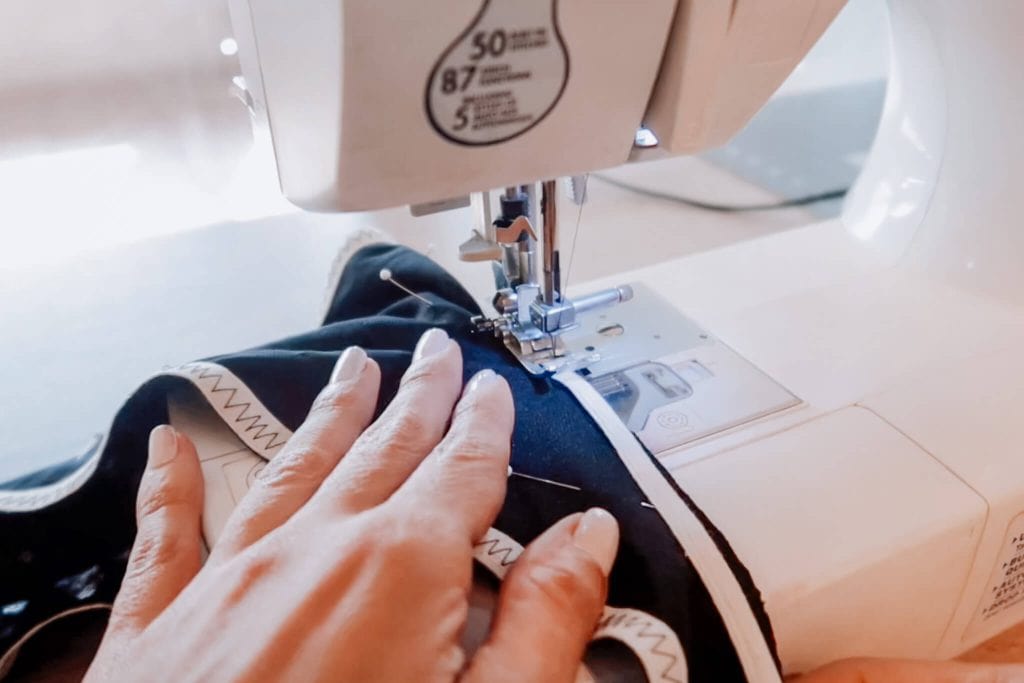


Step #5 – Enclose Elastic and Finish Edges
Fold the edges inward to enclose the elastic and sew a second zigzag stitch around the leg openings (length 4, width 6) and the waistline (length 4, width 4). Start at one side, backstitch to secure, and at the waist’s V-points, stop with the needle down, lift the presser foot, and pivot for clean angles.

Watch How to Sew Euro-Cut Competition Bottoms
Ready to see it all come together?
In this video, I’ll walk you through every step of sewing your own European-style competition bikini bottom — from cutting the fabric to adding the ruching and elastic. Grab your supplies and let’s sew it together!
Final Thoughts
Sewing competition bottoms isn’t just a fun DIY—it’s a total game-changer. You get to choose your perfect fabric, nail the fit, and walk on stage in something that feels so you. 🥰
With a pattern that’s stage-ready and all your materials prepped, you can have your custom bottoms (and custom bikini top 😌) finished in under an hour. That’s faster than shipping—and way more satisfying.
So grab that fabric, thread that machine, and get ready to strut your stuff in a pair of bottoms you made with your own two hands. You’ve got this! ✨