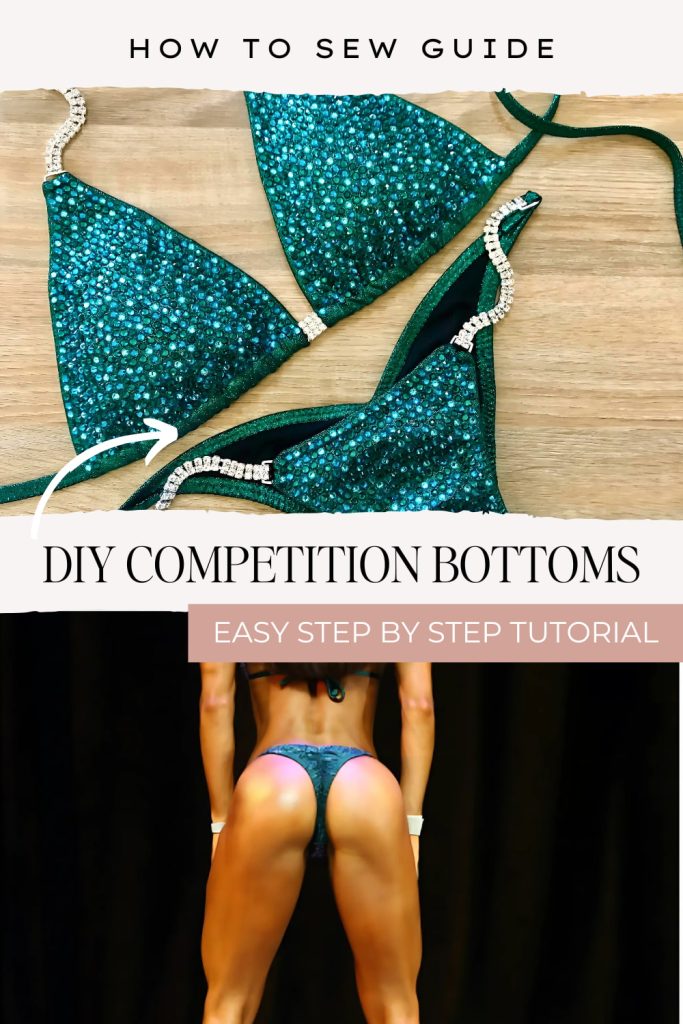
DIY Perfect-Fit Competition Bikini Bottoms
Why Make Your Own Competition Bottoms?
When it comes to competition bikinis, getting the right coverage is everything. Too much, and it throws off your look. Too little, and, well… let’s just say, that’s a risk you don’t want to take on stage! 😅
Instead of crossing your fingers and waiting weeks for a custom order, why not sew your own in an hour or less? ✨
After reading this, you’ll know exactly how to create competition bikini bottoms that fit just right—plus my best tips for making the process quick, easy, and stress-free! 🫶

What Do You Need to Make Competition Bikini Bottoms?
The materials for sewing competition bikini bottoms are almost the same as what you’d use for a competition top—so if you’ve already made one, you’re halfway there! 🎉
The main differences? Here, I use two different widths of elastic to ensure the perfect balance of stretch and support, and the connectors have a specific length and way to adjust them for the right fit.
Below is everything you’ll need to create flawless, stage-ready bikini bottoms!
What’s the Best Fabric for Competition Bikini Bottoms?
For bottoms that fit like a dream and move with you on stage, you’ll need a 4-way stretch nylon-spandex fabric. There are plenty of options out there, but after over a decade of sewing competition suits, I definitely have my favorites.
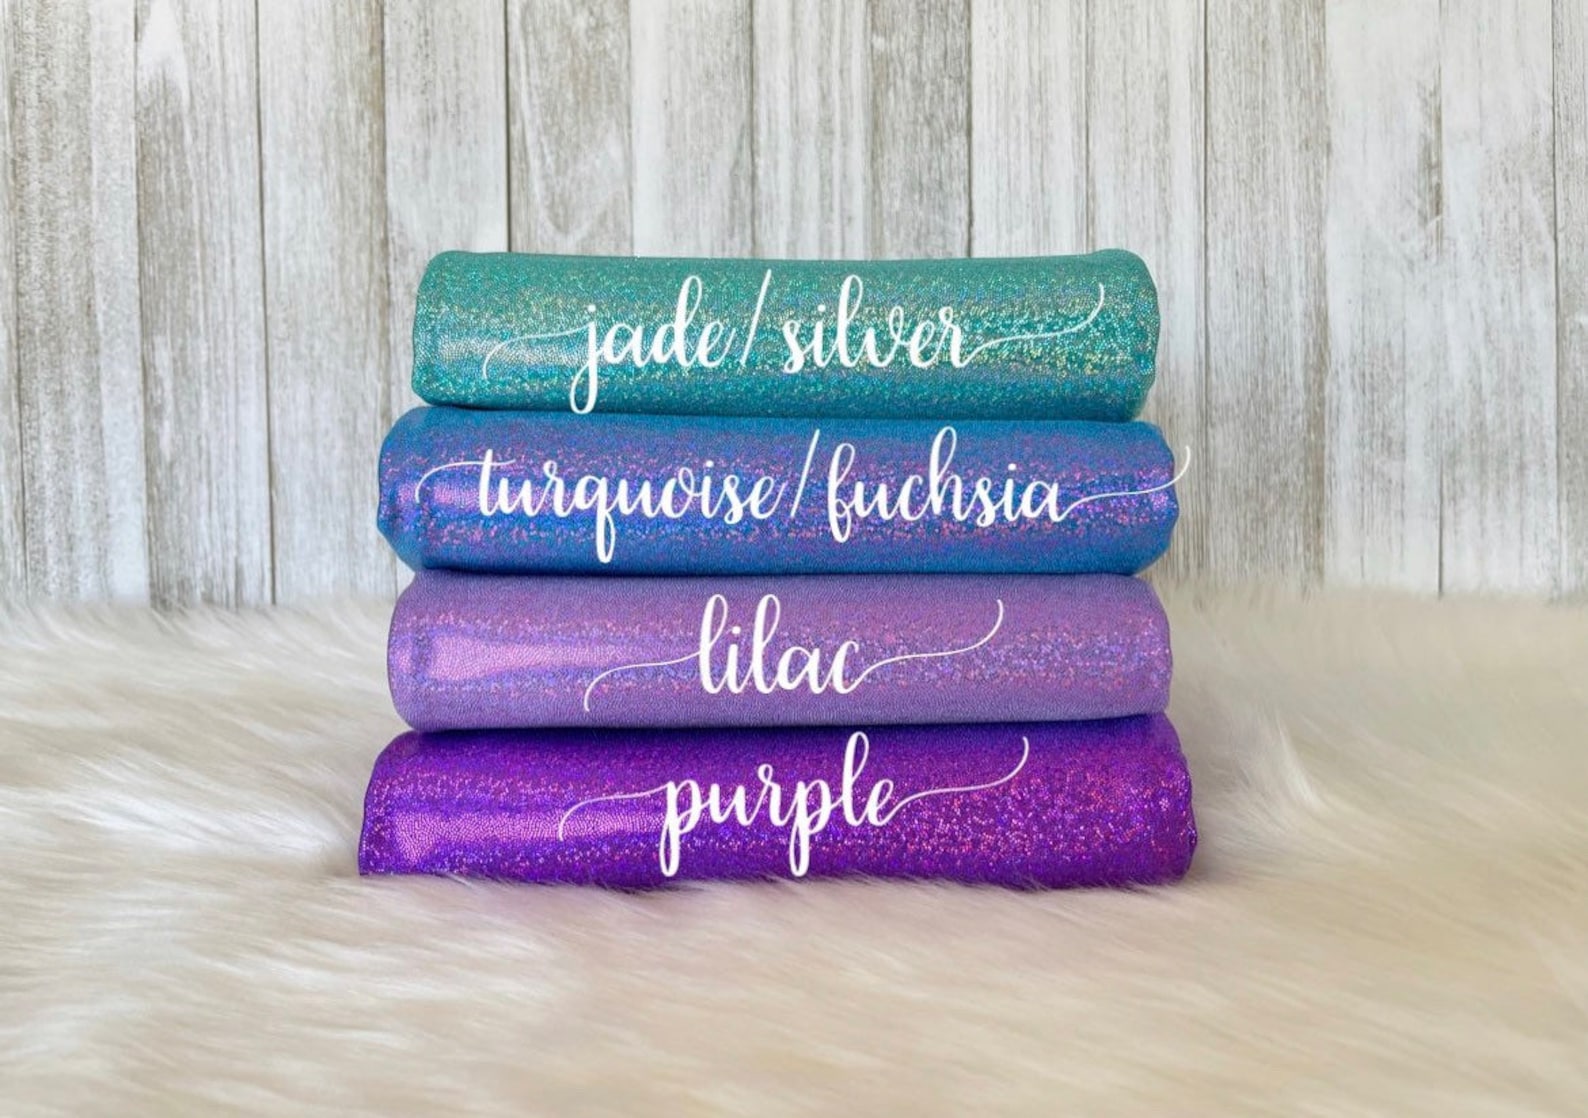
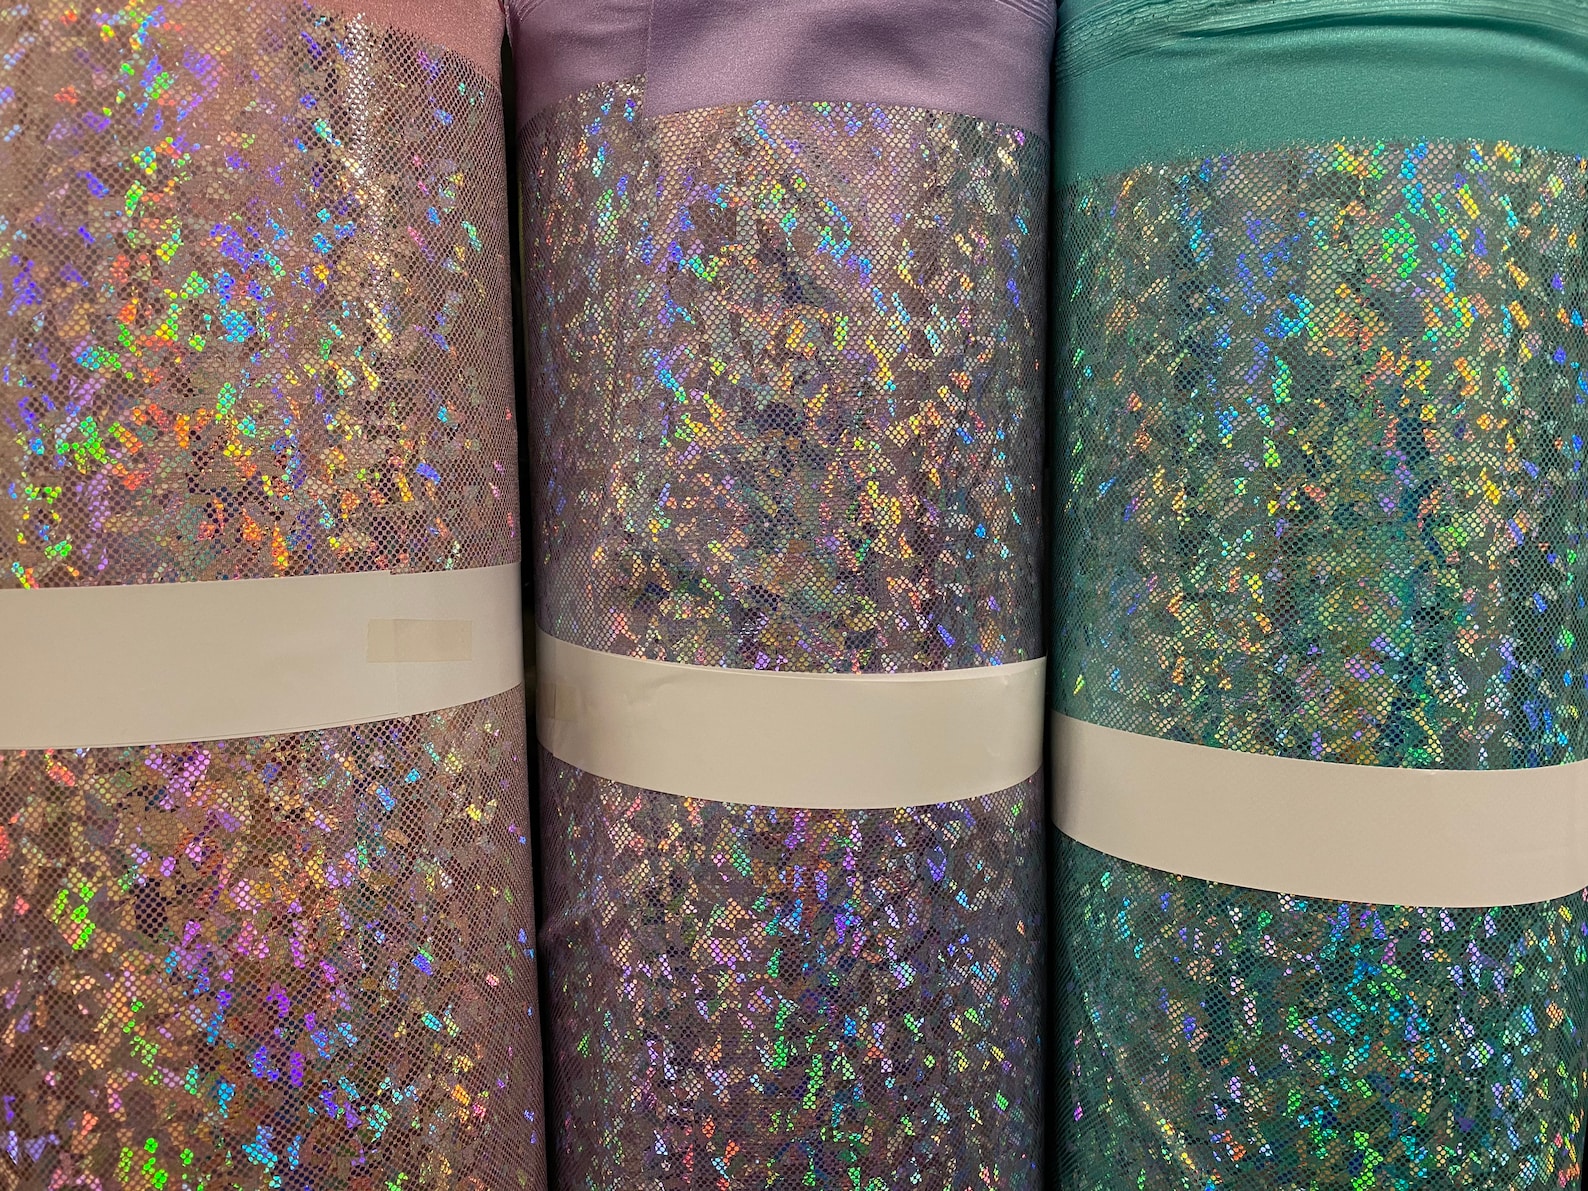
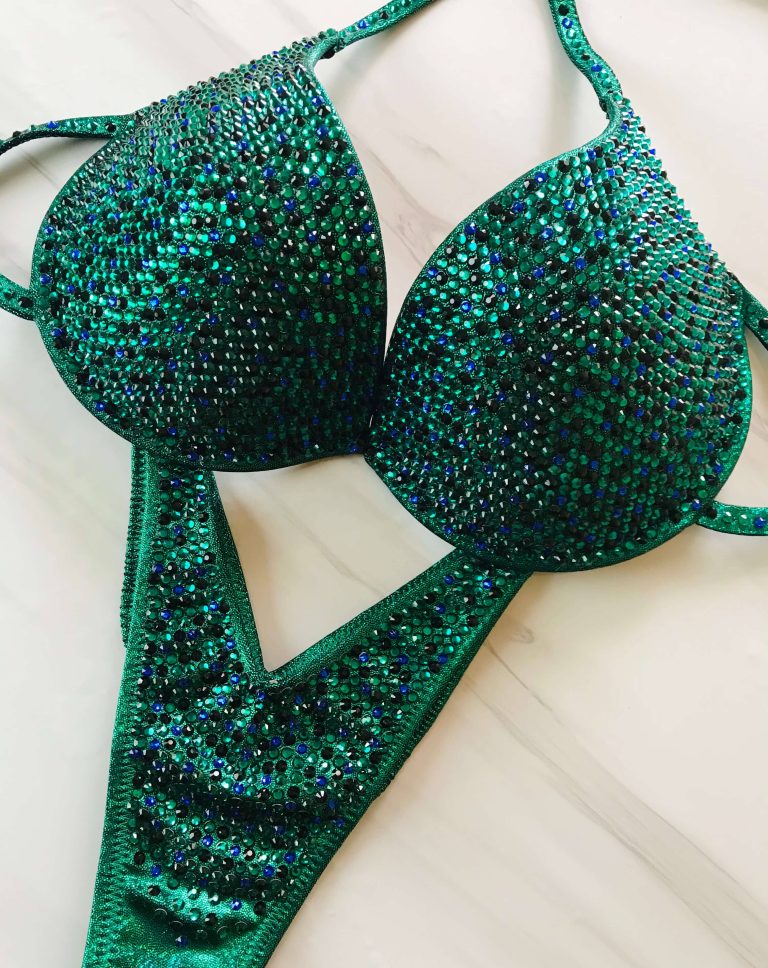
Holographic fabrics
If you love a little (or a lot of) sparkle, holographic fabrics are the go-to choice for that dazzling stage presence. I love Mystique, with its fine shimmer for an elegant, polished look, and Shattered Glass holographic fabric, which creates a multi-color, eye-catching effect.
(For this tutorial I’ll be using Mystique in the beautiful Jade-Silver color.)
Solid Colors Fabrics
Non-holographic fabrics are probably more popular for practice suits, but they also create a stunning base for crystal embellishments, and there are some beautiful colors to choose from.
These fabrics offer a sleek, polished look that still lets your crystals shine.


How Much Fabric Does It Take to Make Competition Bikini Bottoms?
For this project, you’ll need about 0.50 yards (roughly 45 cm) of fabric. If your fabric width is at least 58 inches (147 cm), you’ll have enough room to cut both the bottoms and the top!
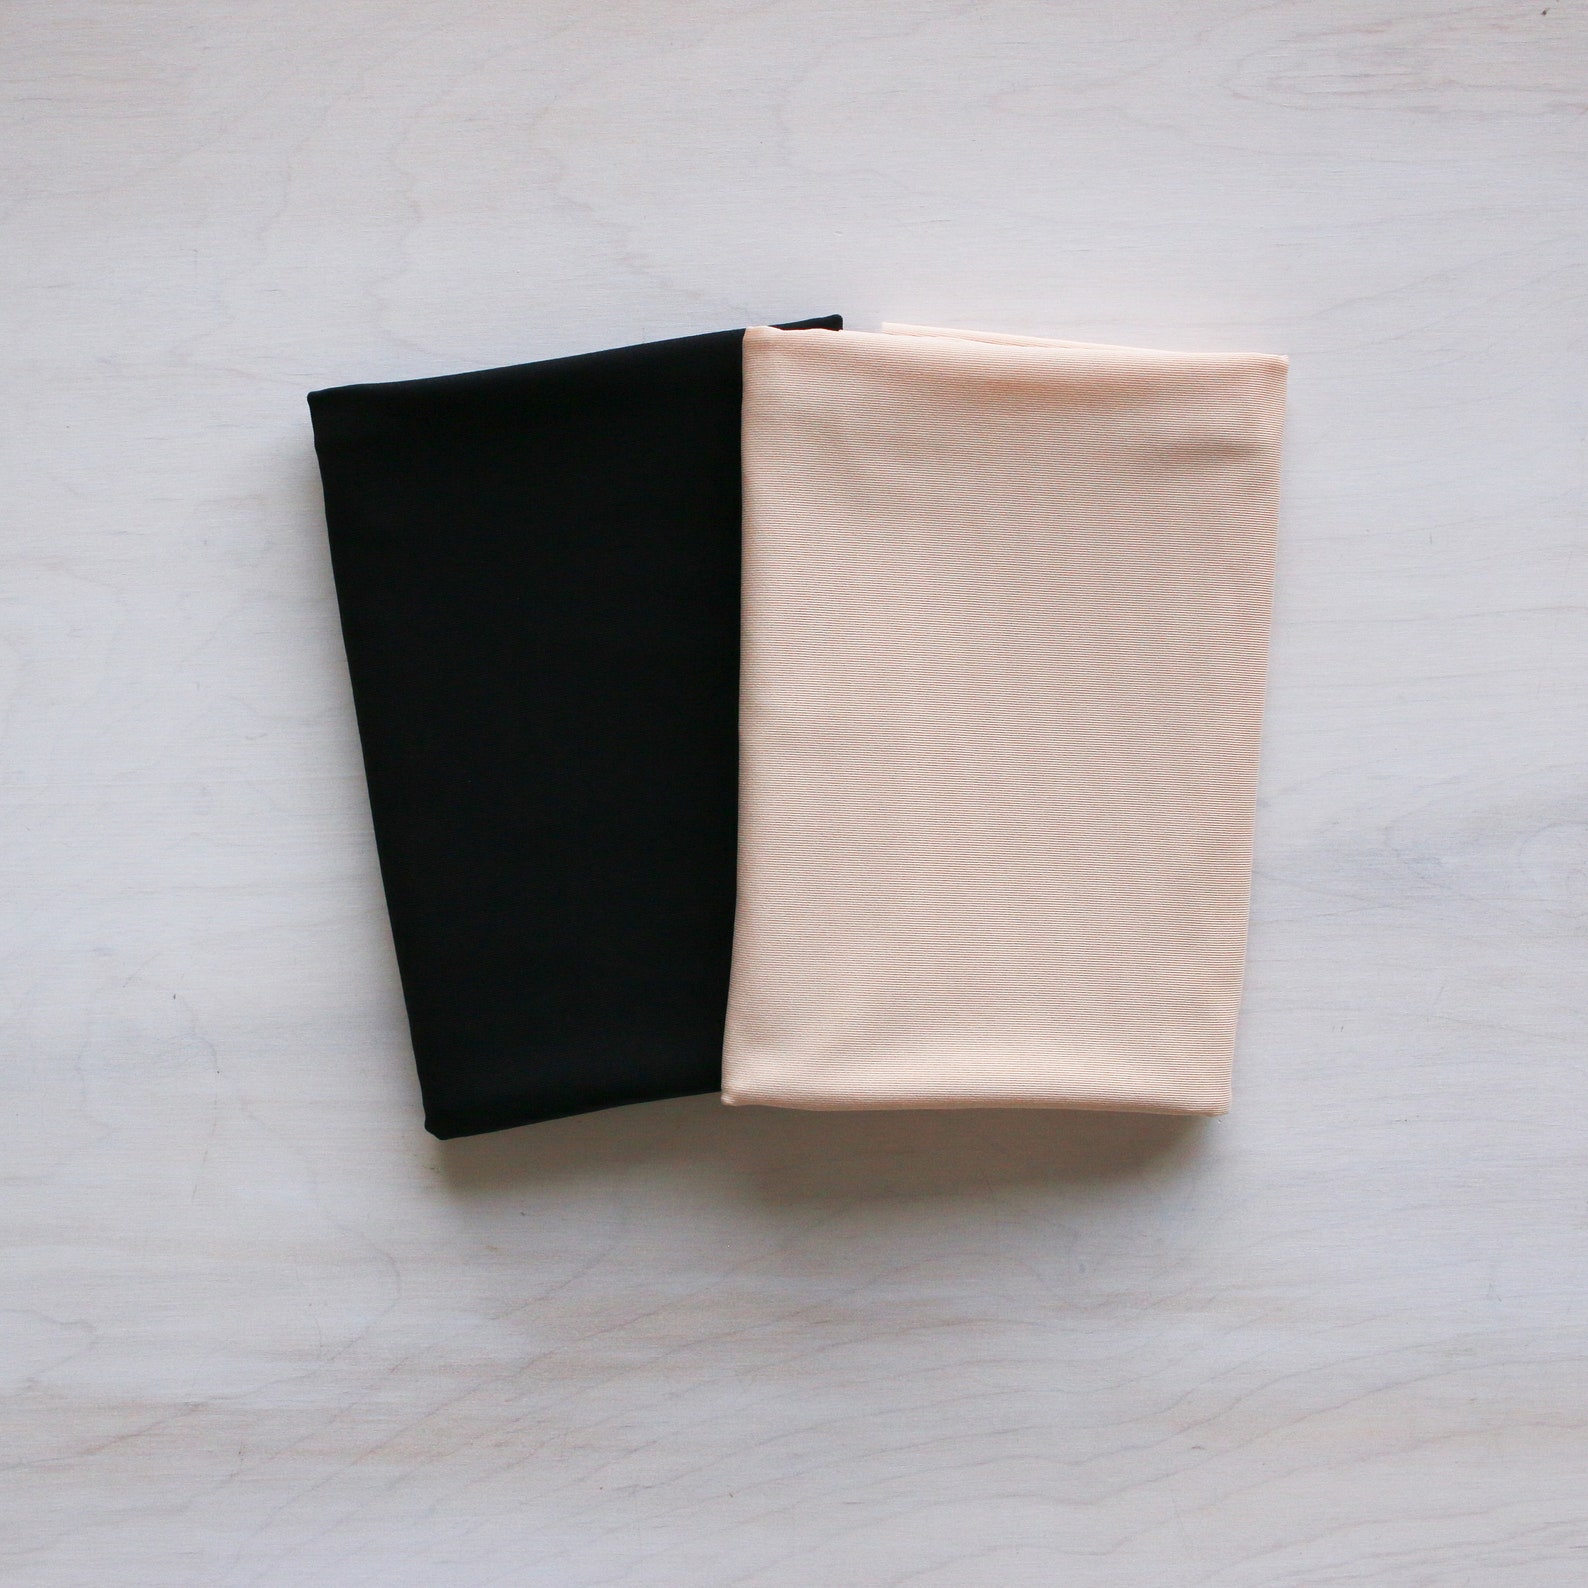
I’ve seen some bikini sellers skip the lining for the bottoms, but honestly, if you want a polished, professional finish—and to make your suit last longer—I highly recommend grabbing 0.50 yards (around 45 cm) of lining fabric as well.
I like to use a lightweight lining fabric, and I always have both black and nude in my stash.
The Best Elastic for Competition Bikini Bottoms
For the bottoms, you’ll need two types of elastic: 1/4-inch for the top edges and 3/8-inch for the sides or leg openings.
The 1/4-inch elastic helps create a clean, comfortable fit along the top, while the slightly wider 3/8-inch elastic gives the sides and leg openings just the right amount of stretch and support.
When it comes to the material of the elastic, I once tried rubber elastic, but it wasn’t as easy to manage as the cotton one.
This is the specific brand of elastic I’ve been using for years, and I absolutely love it!


Rhinestone Connectors for Competition Bikini Bottoms
When choosing the right length for your rhinestone connectors, I recommend going with 5 to 7 inches. Any longer, and your bottoms might end up too loose, while anything shorter can make the fit look off.
The best connectors I’ve found are from Bead and Trim. The downside? They sell in bulk, so if you’re only making a couple of bikinis, you’ll end up with more than you need.

I’m still on the hunt for more high-quality connector vendors and recently ordered from other suppliers that sell connectors per pair. As soon as the package arrives, I’ll report back on the quality and make a comparison video—so stay tuned!
JOIN THE LIST
Do I Need a Special Machine to Make Competition Bikinis?
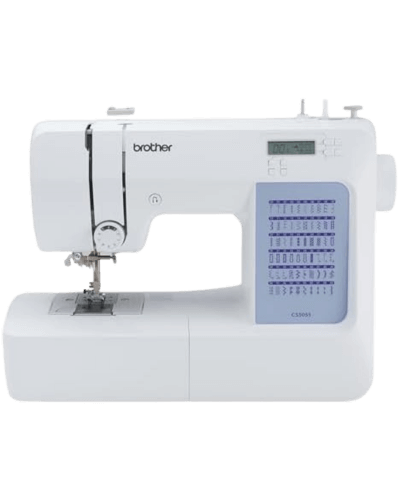
Good news: You don’t need an expensive sewing machine to make competition bikini bottoms! All you really need is a machine that can do both straight stitch and zigzag stitch.
My sewing machine is a true gem—it’s been with me for over 15 years and still works like a charm! If you’re on the hunt for an affordable, easy-to-use machine, I highly recommend this brand. It’s reliable and perfect for bikini-making without breaking the bank.

Choosing the Right Needle for Bikini Bottoms
Different fabrics (and even different fabric weights) require different needles to ensure smooth stitching.
For stretchy fabrics like the ones we use for competition bikinis, you’ll want to use a ballpoint needle (also called a stretch needle). It’s designed to glide through the fabric without damaging the fibers, giving you clean and even stitches.
My go-to brand is Schmetz, and for the fabrics we’re working with here, I always use a 75/11 size needle.

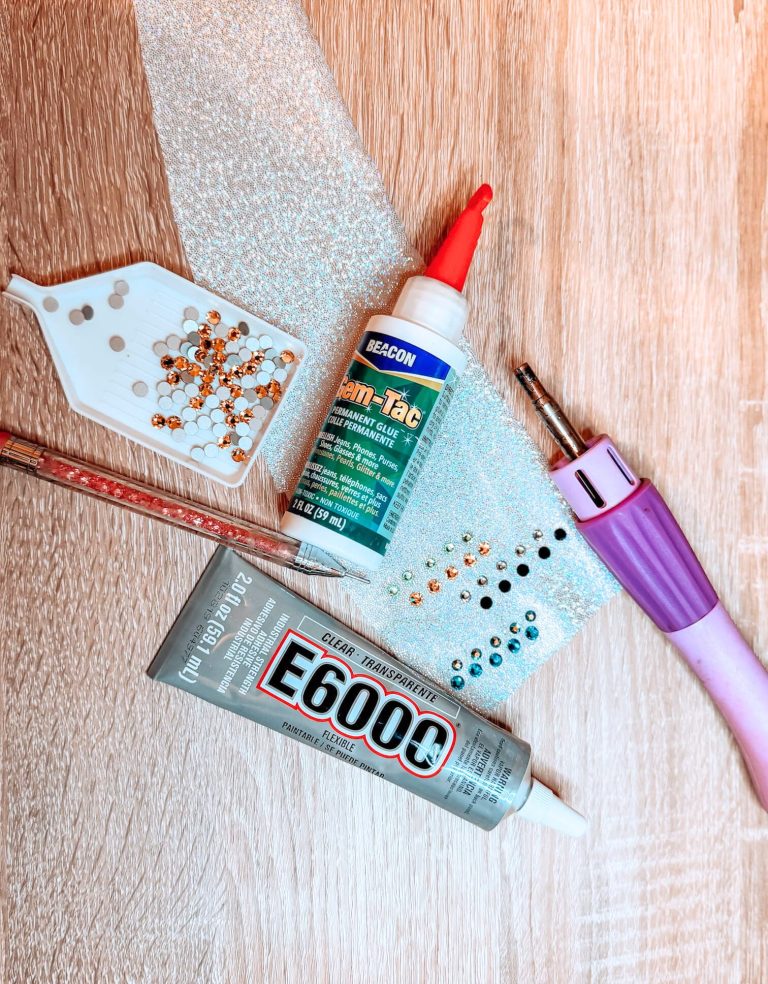
Other Little Essentials You May Have Around (But If Not, Here Are My Favorites)
While the main materials are key, there are a few other little things that make the process smoother and more enjoyable. If you don’t have them on hand—or are looking for a new option—here are my must-haves:
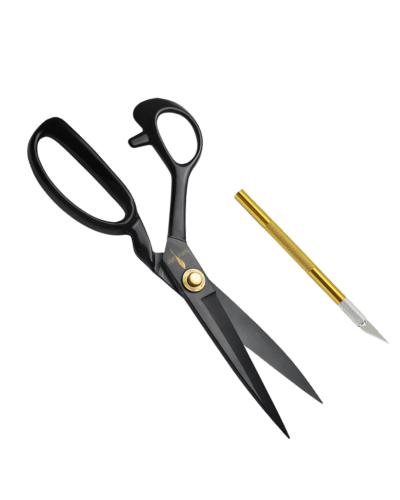
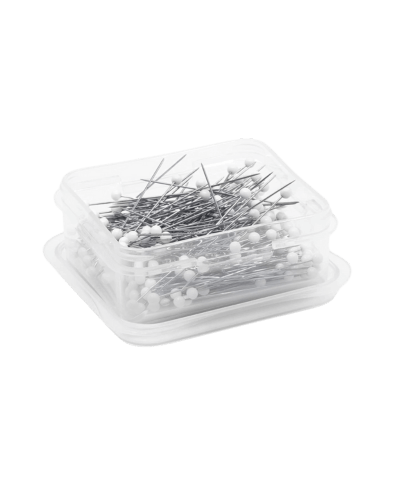
- Pins: To keep everything in place while you sew. I love using fine, sharp pins that don’t leave big holes in my fabric.
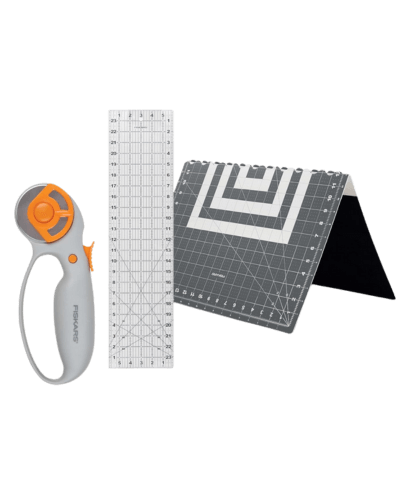
- Cutting Sets: A good cutting mat with a rotary cutter is a game-changer for making precise cuts fast!
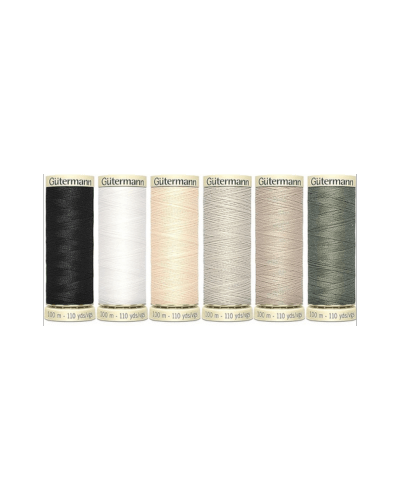
- High-Quality Thread: Don’t skimp here! A strong, smooth thread will keep everything in place and hold up well on stage.
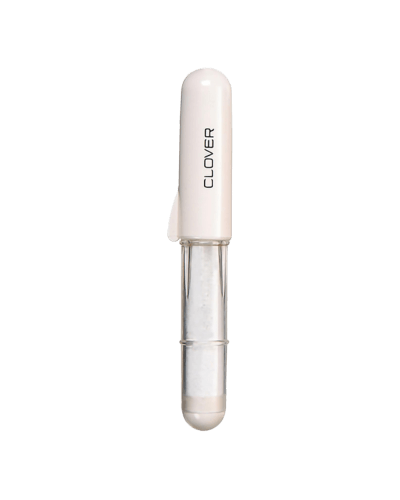
- Fabric Marking Tools: Whether you use chalk or water-soluble pens, fabric marking tools are crucial for getting precise lines.
- Sewing Gauge: A little tool that makes measuring every seam a breeze.
Other Essentials


Sewing Pattern for Competition Bottoms
Drafting bikini bottom patterns isn’t just about drawing shapes—it takes precise calculations (and a looot of trial and error 😅) to get the perfect fit and coverage.
Luckily, you don’t have to figure it all out from scratch! With just a few clicks, you can download a digital file that’s been perfected over years of trial, error, and fabric mishaps—so you can skip the frustration and get straight to sewing your dream competition bottoms. ✨

PDF PATTERN
Competition Bottoms
Sewing Pattern
It comes with three different coverage options for the front and four for the back 😍, so whether you’re looking for:
- The perfect fit
- A bit more coverage for comfort
- Strategically conceal a scar
This pattern gives you the flexibility to create a suit that makes you feel confident on stage. 🙌🏼
Competition bikini bottoms – DIY tutorial summary
If you prefer written instructions over hitting pause every two seconds, this quick guide is for you!
However, the video below includes extra tips, visuals, and juicy details that make sewing this bikini bottom even easier, so make sure to also watch it at least once before starting to sew.
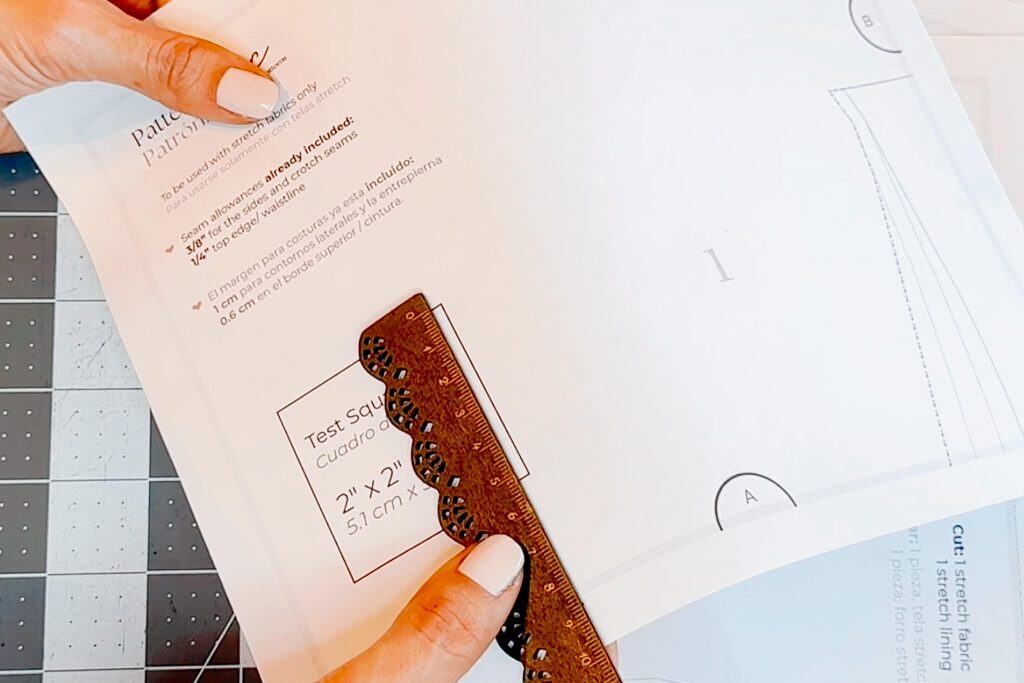
Step #1 – Print and prep your pattern
Print the sewing pattern at 100% scale and check the test square to confirm it’s printed correctly. Then cut or fold the edges and match the letters (A to A, B to B…) to tape the sheets together.
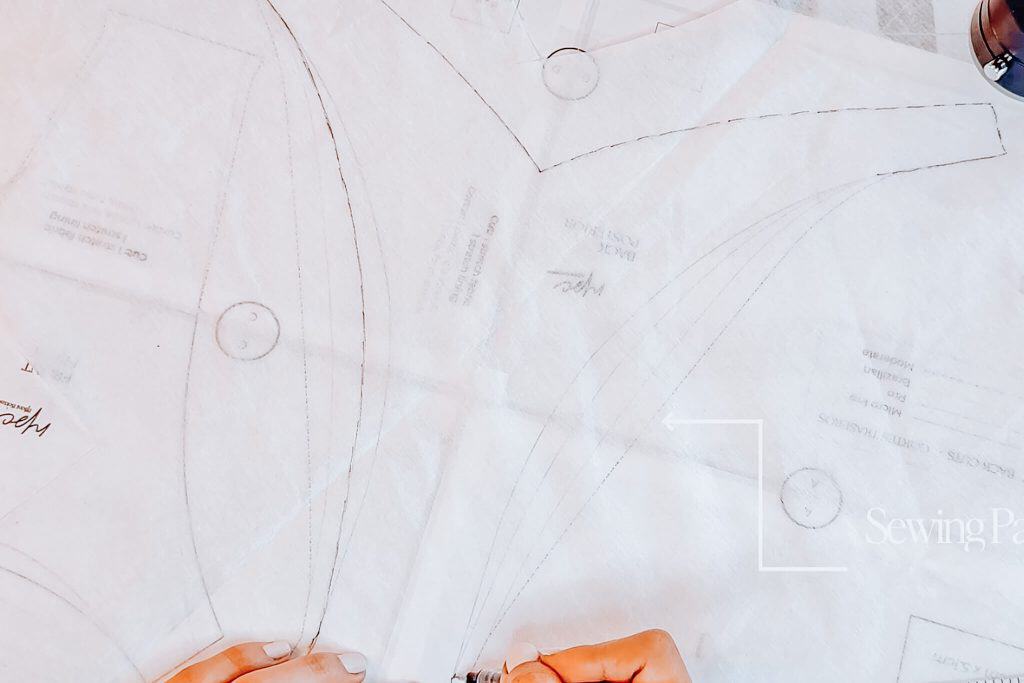
Pick your front and back coverage. To keep the original pattern intact, you can trace your chosen sizes onto tracing paper.


Step #2 – Cut your fabric and lining pieces
Lay your spandex fabric flat and cut one front and one back piece. Then cut the same shapes from your swimsuit lining fabric.


Step #3 – Sewing the ruching and the crotch seams
Start with the ruching on the back by marking the center back, then sew a piece of elastic down the line while gently stretching it to create the scrunch.
Sew the front and back fabric pieces right sides together at the crotch. Repeat that with the lining pieces.
Then layer the fabric and lining (wrong sides facing and making sure the crotch seams are facing opposite directions so it doesn’t get bulky) then, pin all around the edges.


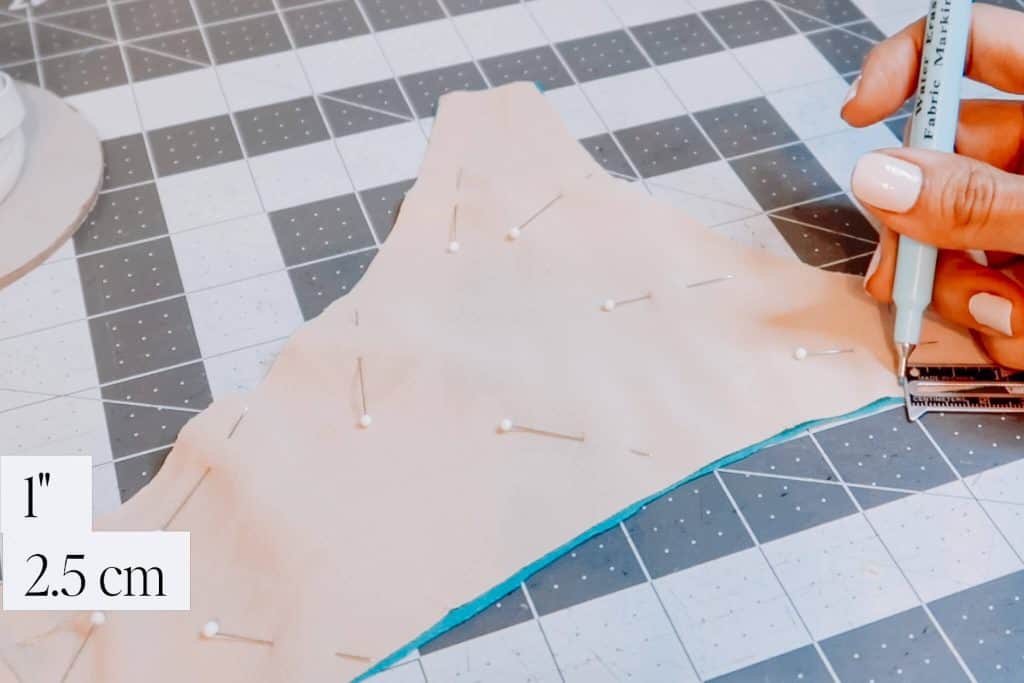
Step #4 – Add elastic to leg openings and top edges
Mark the spots where no elastic will go: about 1” on the front sides and 2” on the back sides.
Using a zigzag stitch sew the 3/8” elastic around the leg openings, slightly stretching as you go (especially in the center of the back to help it hug your curves).
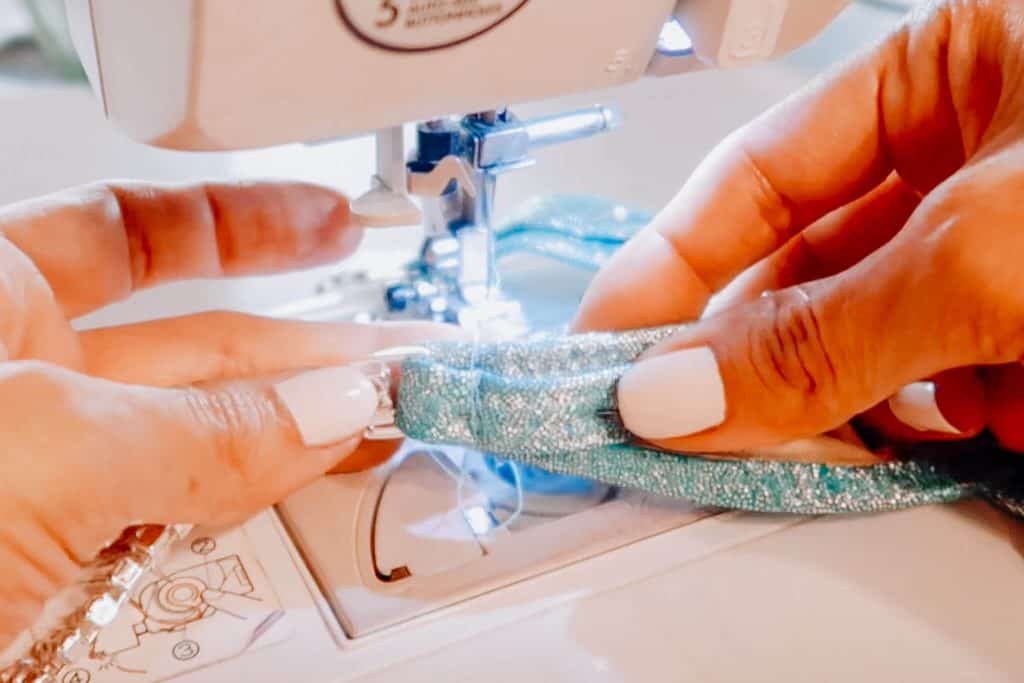
Then, sew the ¼” elastic to the top edges. At sharp corners (like the back V), stop with the needle down and pivot for clean angles.
Fold the elastic edges inward and sew one more zigzag seam to finish the edges neatly. Stretch gently while folding to avoid bunching.


Step #5 – Attach rhinestone connectors
Slip the fabric straps through the rhinestone connectors. On the front, fold about 1⅛” (3 cm) inward, pin, and secure with a straight stitch.
Before securing the connectors on the back, you’ll want to test the fit. Use a safety pin to hold them in place and try them on.
Once you’re happy with the fit, pin and sew just like you did for the front.


Watch How to Sew Competition Bottoms
In this video tutorial, I’ll walk you through every step of sewing your own competition bikini bottoms.
From cutting the fabric to sewing the ruching and adjusting the connectors, you’ll learn all the tips and tricks I’ve gathered over the years to make sewing your first competition suit as enjoyable as possible! 🫶
DIY Competition Bottoms: Final Thoughts
Sewing your own competition bikini bottoms isn’t just about saving money—it’s about getting the exact coverage you want, and a suit that feels as good as it looks on stage.
With the right materials, a solid pattern, and a little patience, you’ll have a custom piece that showcases your hard work in the best way possible.
Ready to make your own? Grab the NPC Bikini Bottoms Pattern, pick your favorite fabric, and start sewing today! 💖✨


One Comment