DIY Competition Bikini Top from Scratch!
Step-by-Step Guide to Sewing a Stunning NPC Bikini Top
Did you know making your own competition bikini top can be as rewarding as stepping on stage? It’s not just about the suit—it’s about the pride, confidence, and creativity that comes with creating something uniquely yours. 🪄
After reading this, you’ll know how to get started and all my tips to love every step of the process.
What do you need to make your own competition bikini top?
Creating your own NPC bikini top is easier than you think—and it all starts with the right materials.
Besides some essentials like scissors, pins, and a sewing machine that can sew both straight and zigzag stitches, you only need a few extra things:
- Bikini fabric
- Stretch lining
- High-quality thread
- 1/4″ elastic
- Stretch needles
- Fabric marking pen
- Crystal Connectors
- Removable Pads
- Sewing pattern
Below, I’ve broken down everything you’ll need in more detail to bring your vision to life.
What’s the best competition suit fabric?
To make a bikini top that fits like a glove, you’ll need a 4-way stretch nylon-spandex fabric. There are a ton of different options, but here are 4 of the best fabrics for competition suits.
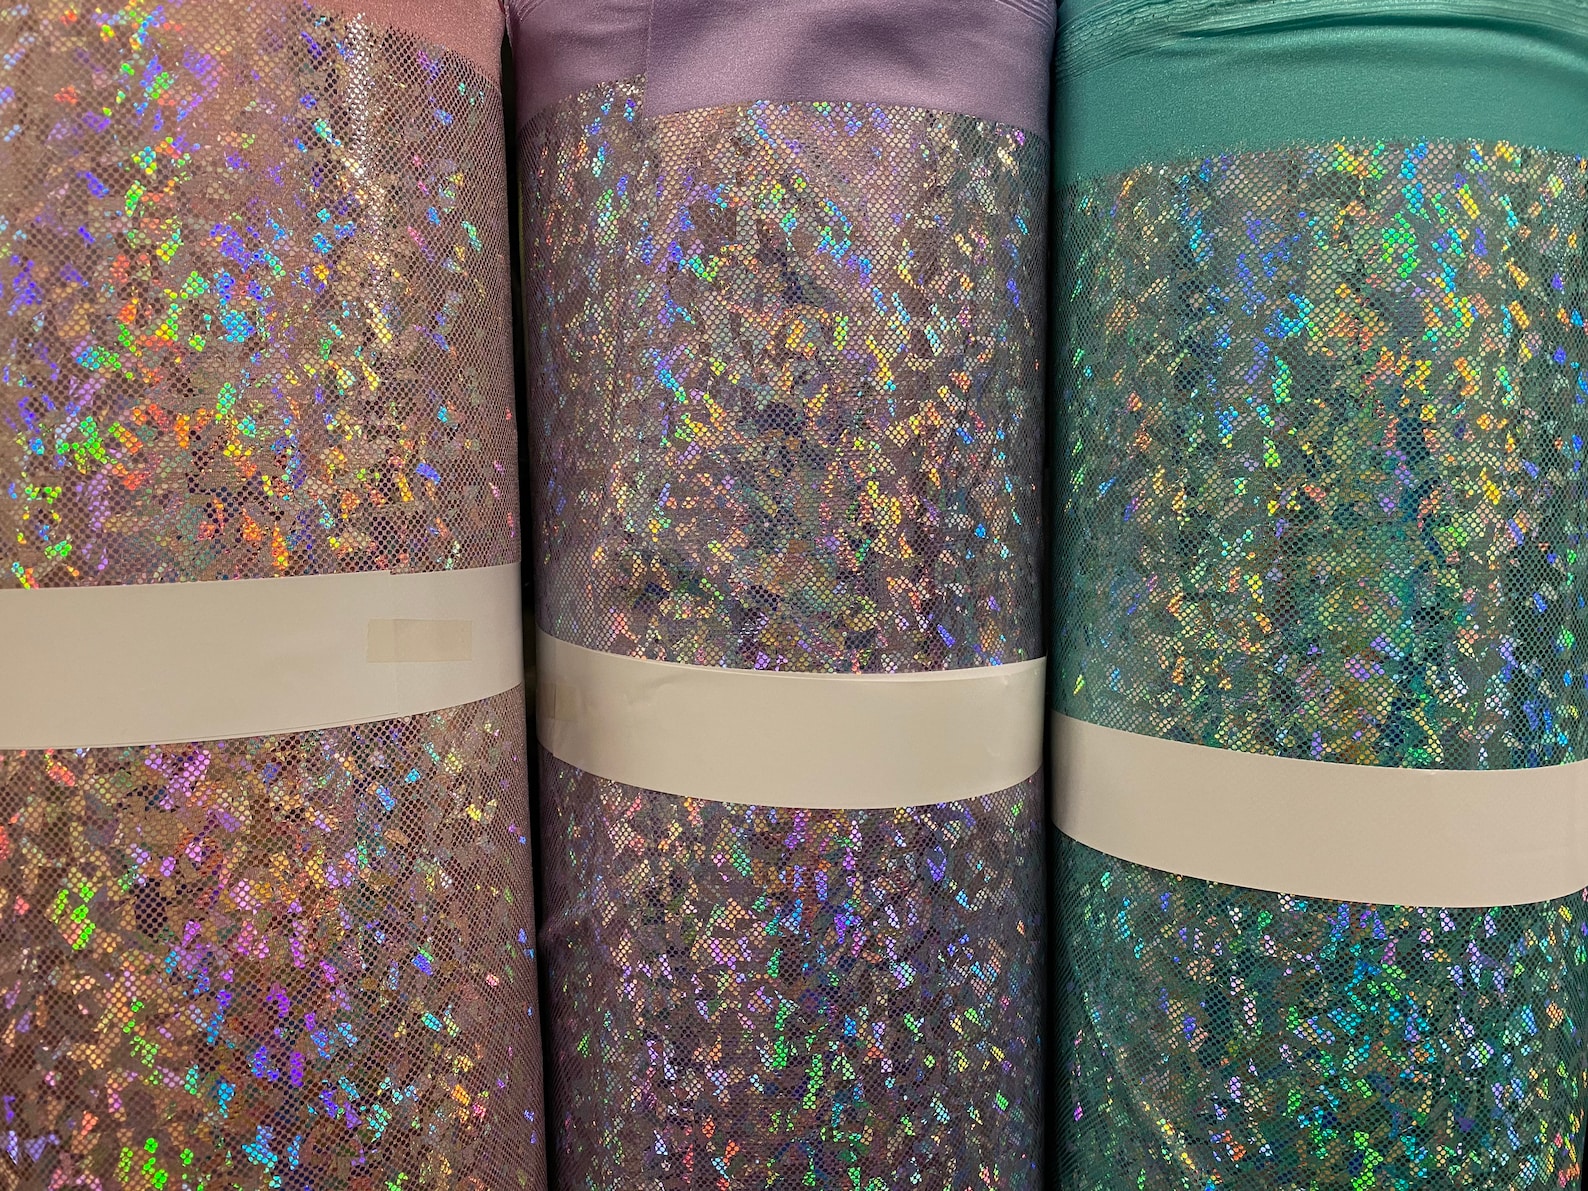
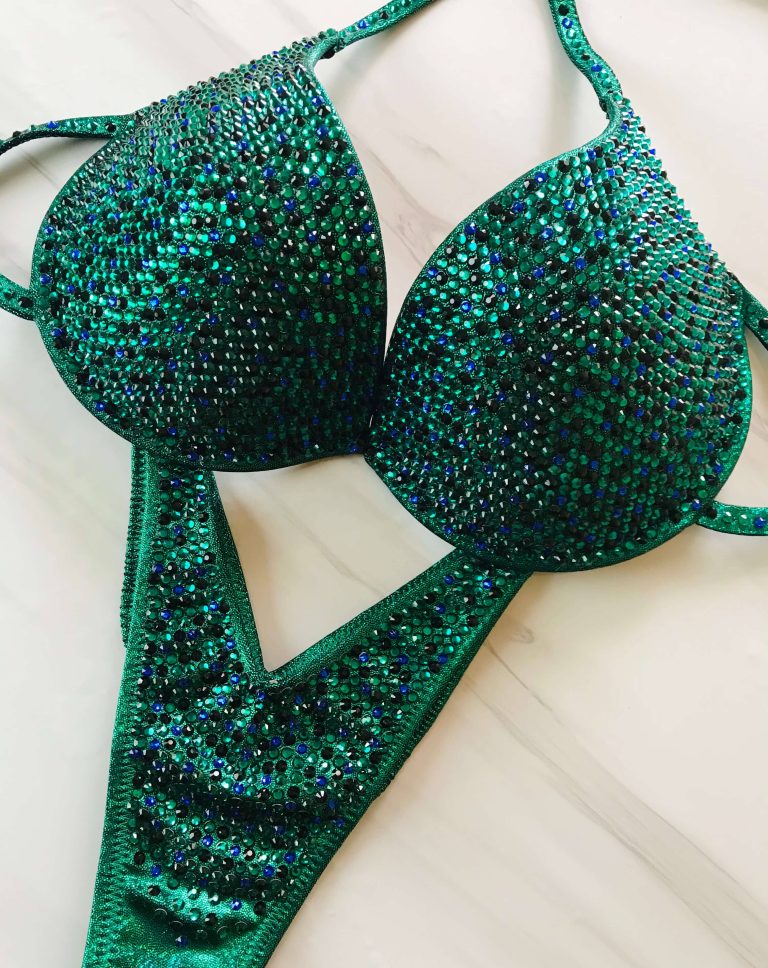
If you’re all about the sparkle, holographic fabrics are the most popular choice when it comes to competition bikinis.
My two favorites? Mystique with its tiny dots for a classy, elegant look, and Shattered Glass Holographic fabric for a fun, eye-catching effect.
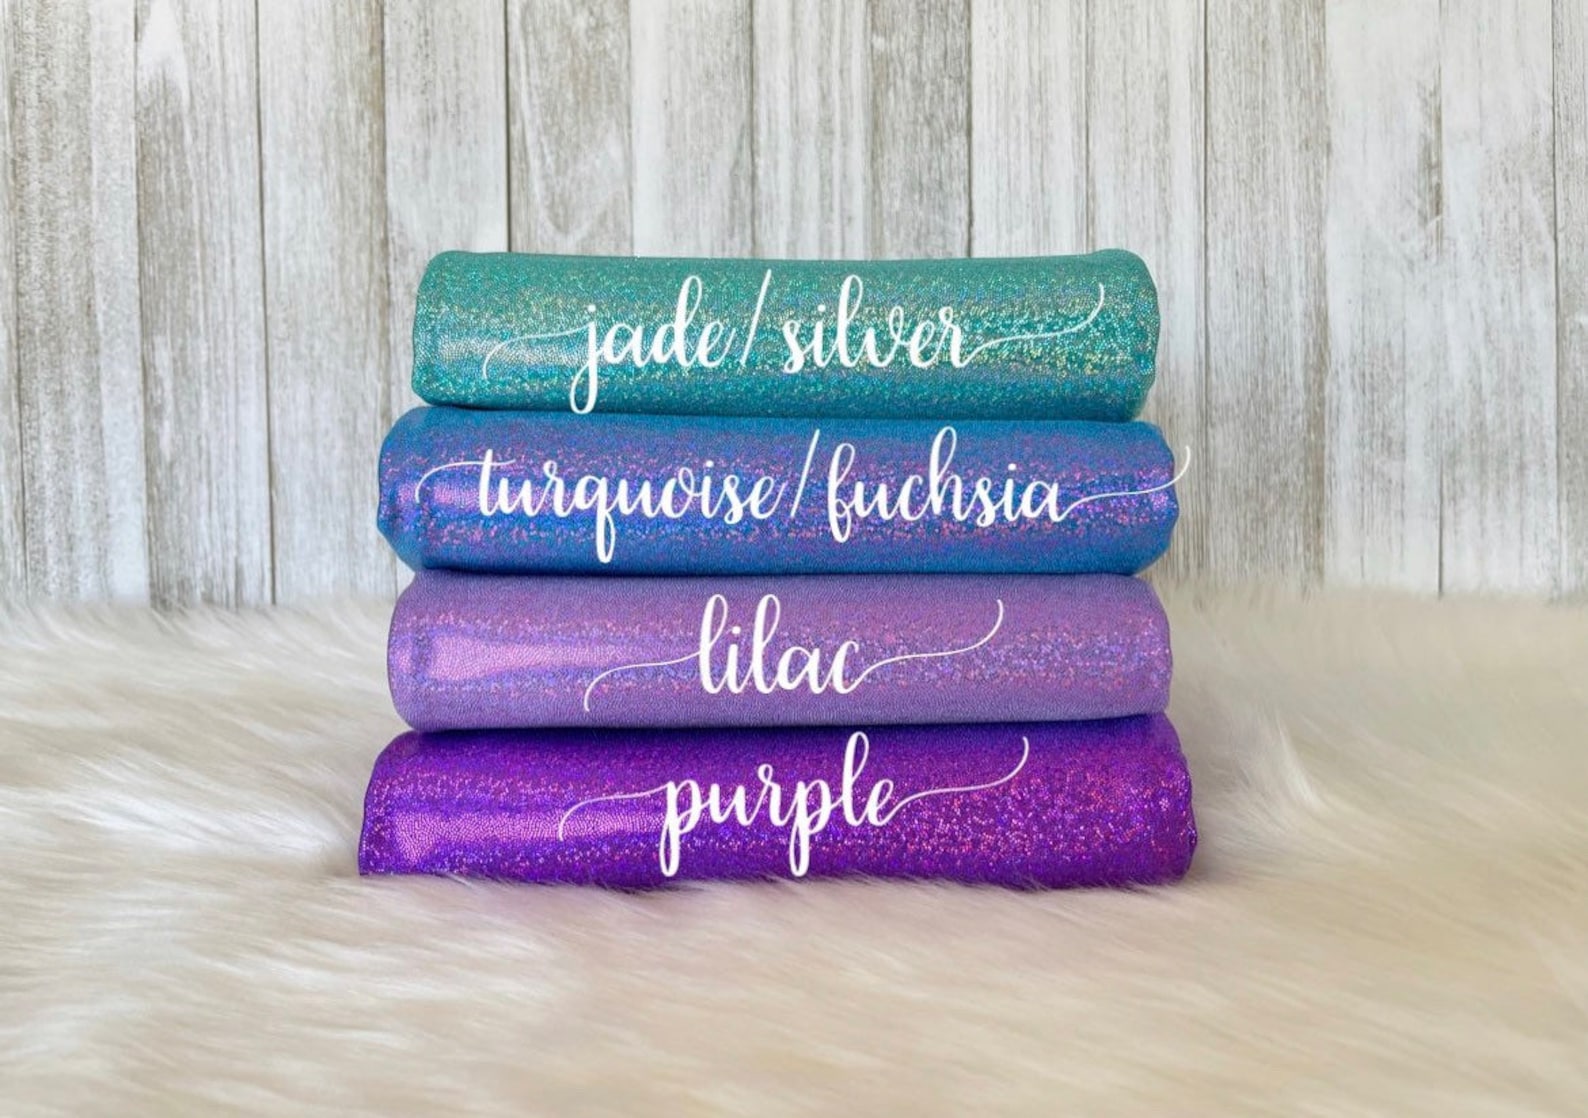
(If you’re wondering which fabric I’ll be using in this tutorial, it’s Mystique in the stunning Jade-Silver color.)
Competition suits are all about the bling. However, believe it or not, solid colors—whether matte tones or with a satin-like shine—look divine with crystals! 😍.
They’re also perfect if you want to start by making a practice suit (without rhinestones) that you can rock at the beach or a pool party.


How much fabric does it take to make a triangle bikini top?
For this type of project, you’ll need 0.60 yards (around 55 cm) of fabric. If the fabric has a width of at least 58 inches (147 cm), you’ll have enough space to cut not only the top but the bottoms too!
For a very professional final result, you’ll also need lining fabric—0.50 yards (around 45 cm) if you’re making a complete suit. If it’s only the top, half of that amount is enough.
This lining fabric is also what the pad pockets are made of, so you can add as much or as little push-up power as you’d like with removable pads!
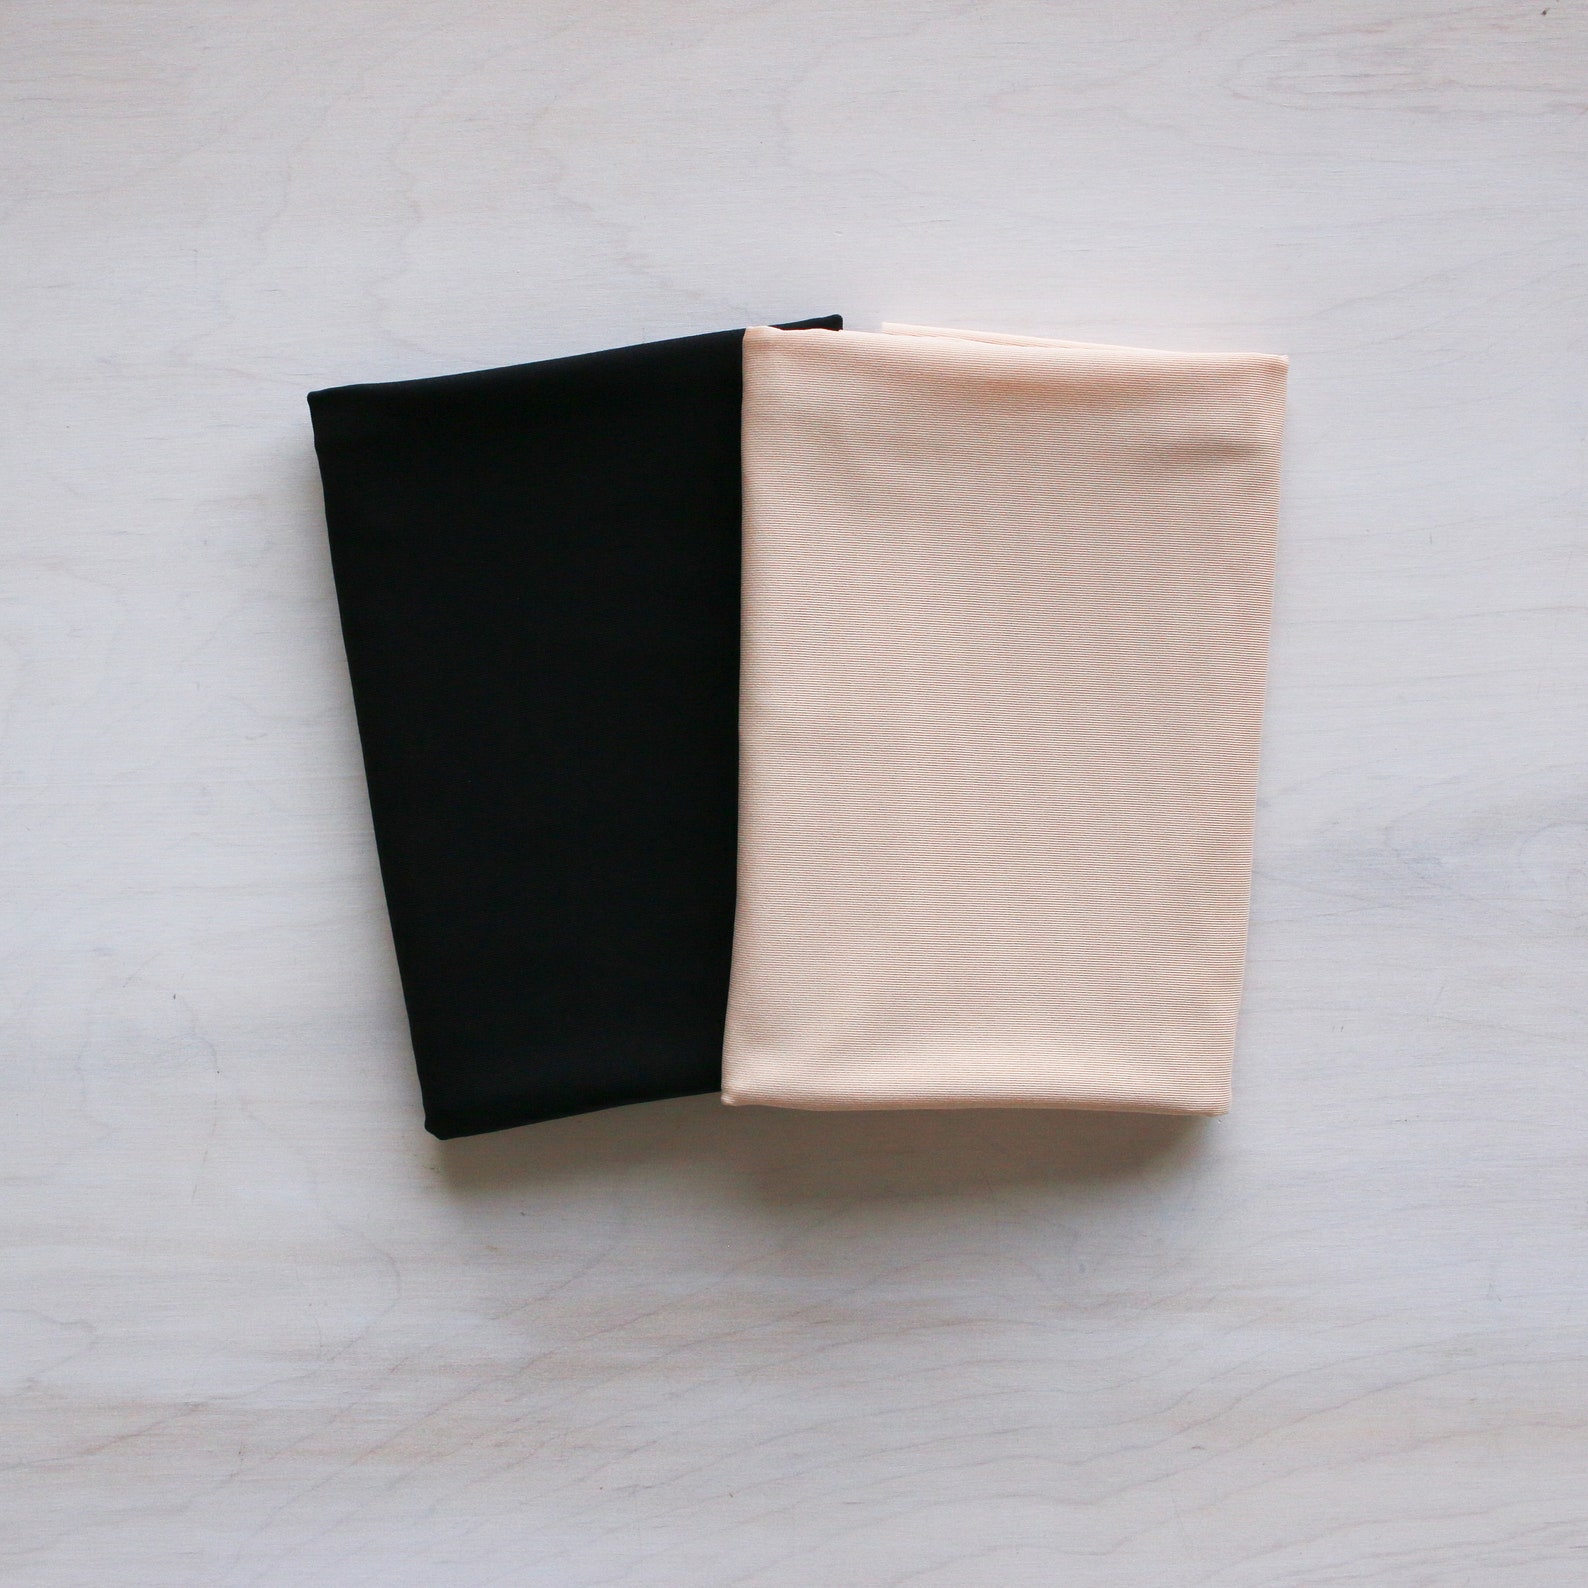
What fabric is used for bikini lining?
I like to use a lightweight lining fabric for my swimsuits. It’s soft, adds structure, and makes your creations more durable so they last longer.
What thread do you use to sew a bikini?
Polyester thread is the best option to sew swimwear and stretchy fabrics in general.
If you’re looking for top quality, Guttermann is my all-time-fave thread brand.
I’ve tried other threads, and they either skip stitches (same needle, just different thread) or break very easily (no bueno 😅). So, investing in good thread will definitely make your life easier and help you avoid future headaches.

The best elastic to sew bikinis
To make the bikini top, you’ll only need 1.1 yards (or 1 meter) of the 1/4-inch width elastic.
I’ve been using this brand for years, and bikinis I made for the beach 10 years ago are still perfectly functional despite exposure to saltwater or chlorine.
Even though competition suits won’t endure such conditions, you still want an elastic that lasts as long as possible. So, this one is a true and tested A-player.

The right needle to sew bikini fabric
If you’re new to sewing, you may not know there are a bunch of different types of needles for different fabrics—or even for the same fabric but with different weights.
The secret lies in getting the correct thickness of the needle and the type of point you need for your fabric.
For stretchy fabrics, you need a ballpoint (aka stretch) needle.
Schmetz is a very established brand, and the 75/11 size is the one I use to sew the fabrics I listed at the beginning of this post.

What happens if you use the wrong needle?
Usually, it will skip stitches—sewing three stitches correctly and then leaving you with unsewn spaces that guarantee frustration and wasted thread. 🫣
Avoid all that and prep yourself with the right type of needles!
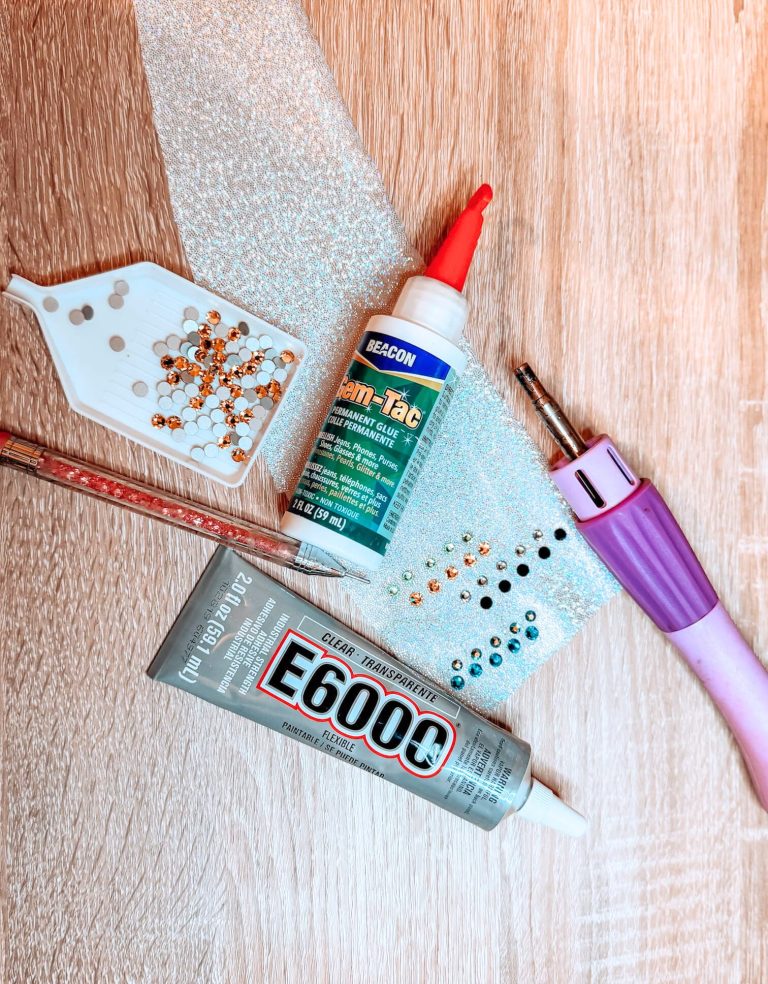
Erasable Marking Pen
There are different ways to mark fabric while sewing, and in the video below this is the making pen I use.
I’ve gotta say, I’m very impressed with the quality of this little pen. It not only has an extremely fine point to help you be extra precise while marking key points—I got it probably 7 years ago (if not longer!), and it still works flawlessly.

Where to get crystal connectors?
The highest-quality connectors I’ve found are from Bead and Trim. The downside? They sell in bulk, so if you’re only making one or two bikinis, you’ll end up with more pieces than you need.
Side note: I’ve considered creating bikini kits with the exact amount of supplies you need to make a single bikini. That way, you can focus on the fun part of creating and won’t end up with a bunch of leftovers—like extra fabric or repeated connector styles.
But I’m not sure if that’s something you’d be interested in. If so, please let me know here! 💌

I recently ordered from other suppliers that sell connectors per pair. As soon as the package arrives, I’ll report back on the quality and make a comparison video—so stay tuned!
JOIN THE LIST
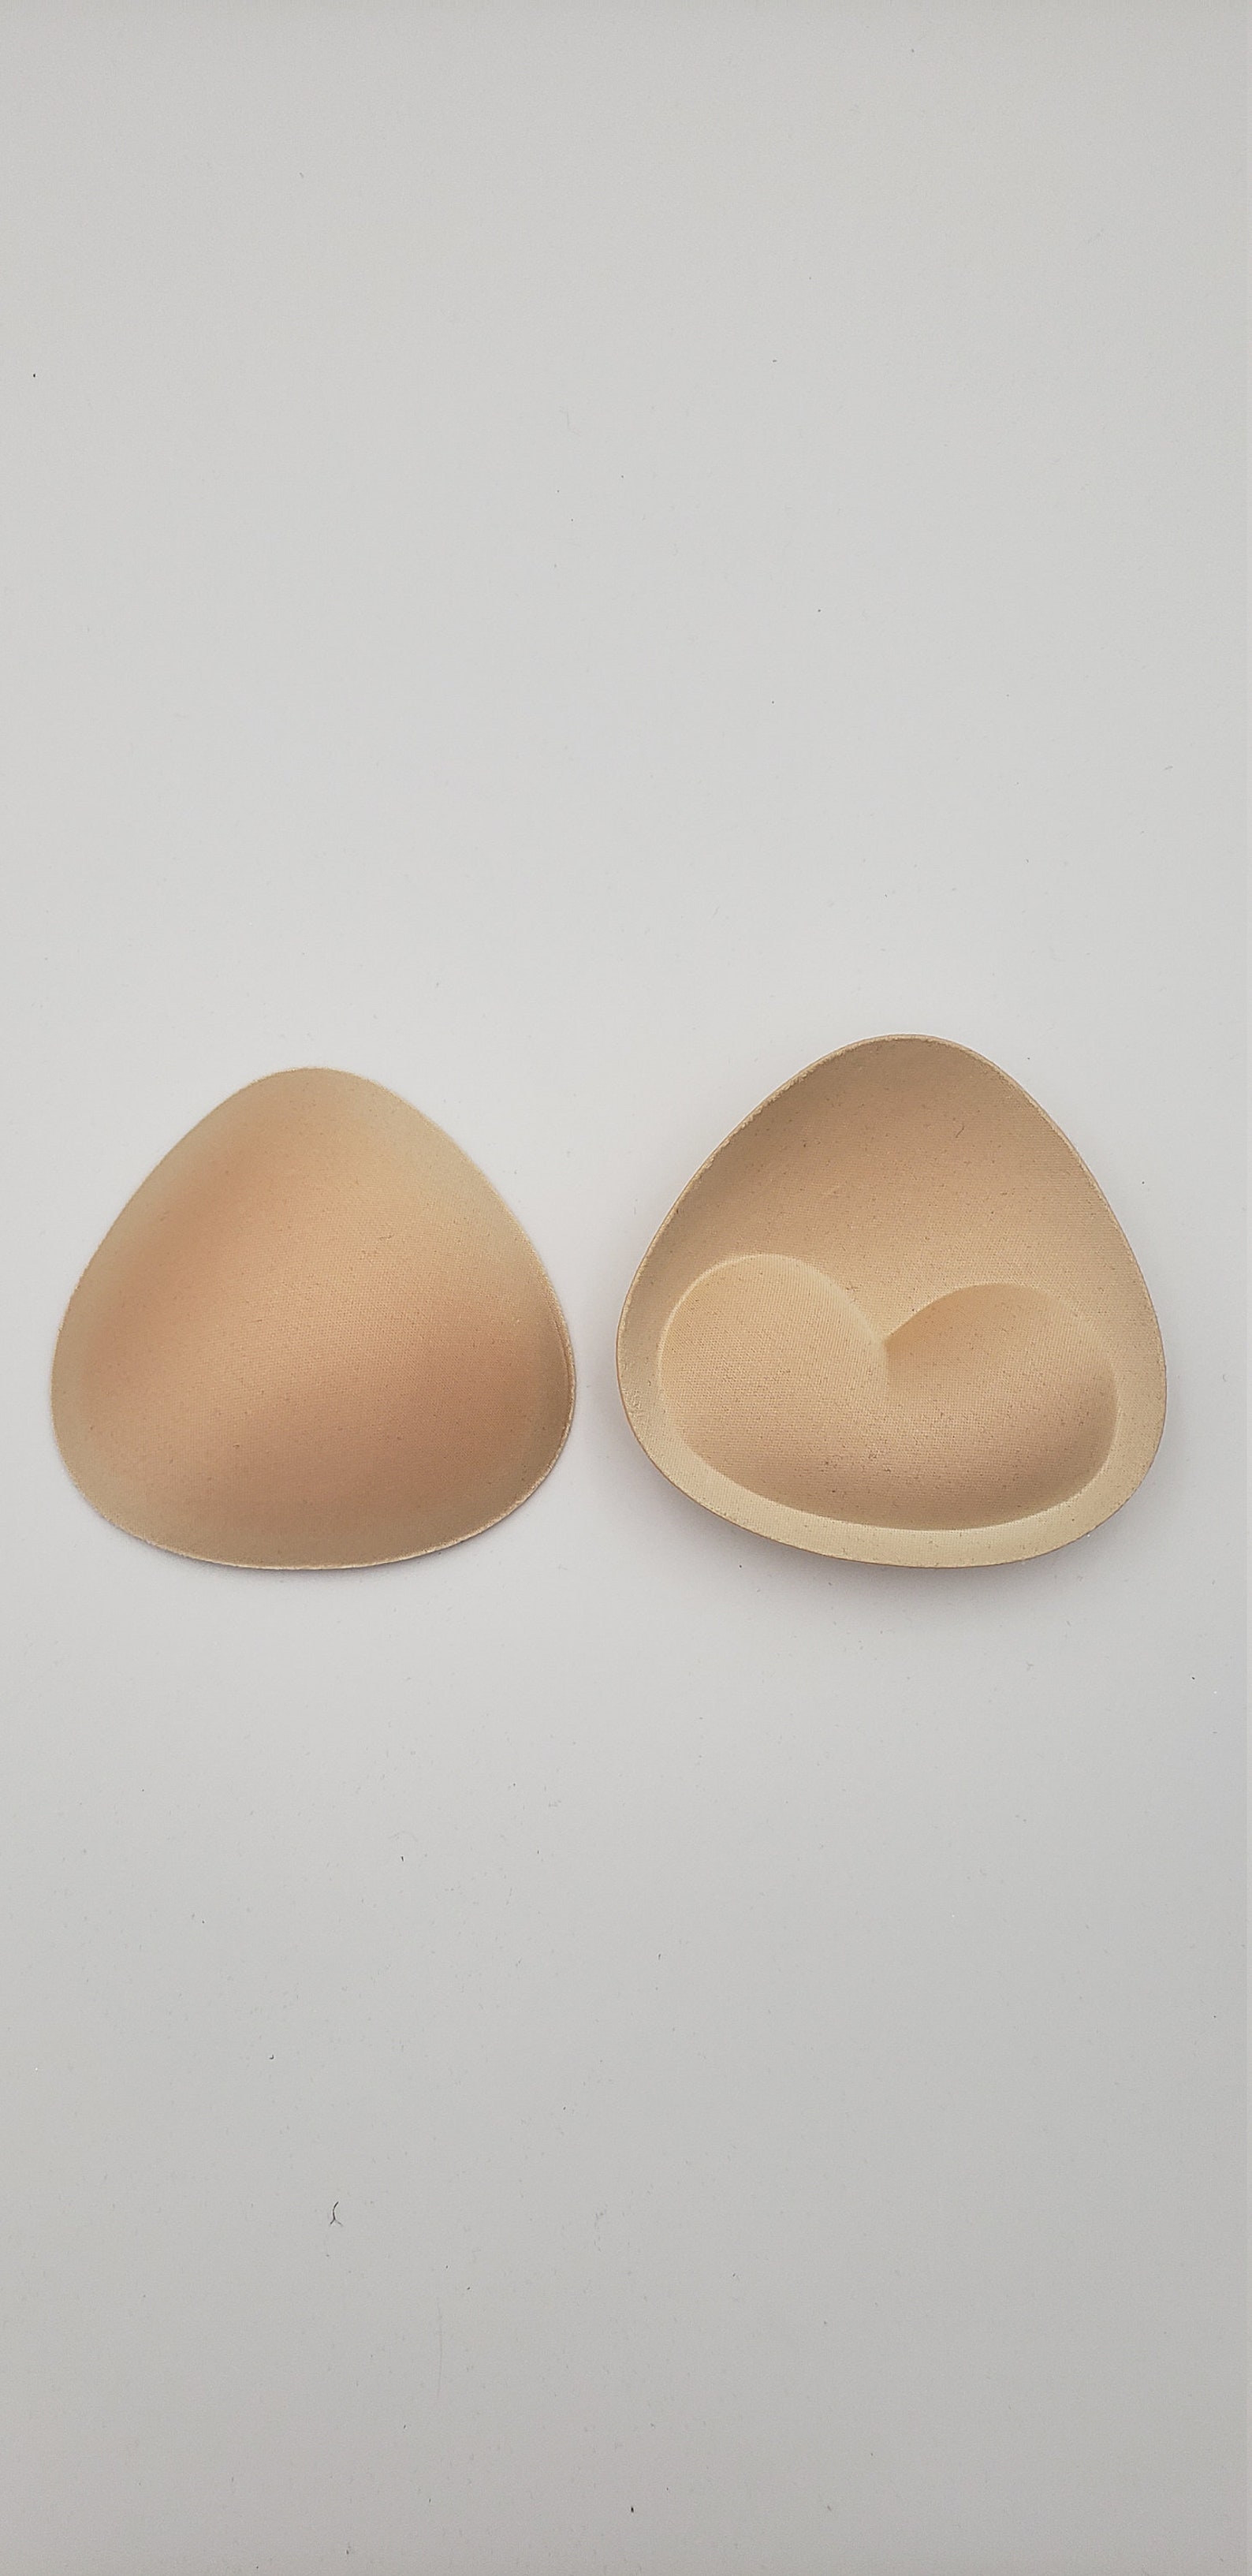
Bikini Top Padding
Removable pads will give your top the perfect shape and support. Whether you want a little lift or a more natural silhouette, these are the styles I like to use:

Competition Bikini Pattern
Tracing patterns involves a lot more math and precision than many would imagine! It’s pretty much what architecture is to building a house—but here, the land is the human body.
Thank goodness for digital sewing patterns! 🙌🏼 They let you skip straight to the fun part of sewing, so there’s no need to spend years studying to create the blueprint for the perfect top.
You can just order one with a couple of clicks. 😌

PDF PATTERN
Competition Bikini Top Sewing Pattern
This is the pattern I’ve perfected and used to make competition tops over the past 10+ years.
It comes in four different sizes, but during all this time, I’ve only needed the first three:
- 70% of my clients got an amazing fit with the medium size (full B or C cups),
- 25% were super happy with the small size (A cups or small B cups)
- 5% have needed the large size (D cups).
For all you DD girls, you may want to try the large or extra-large size, depending on the amount of coverage you’re looking for in your top.
DIY Tutorial Summary
This classic triangle style is perfect whether you’re hitting the beach with a little extra shine or the stage. This written guide summarizes the key steps from my video (embedded below) for those who prefer a quick, readable format to follow along.
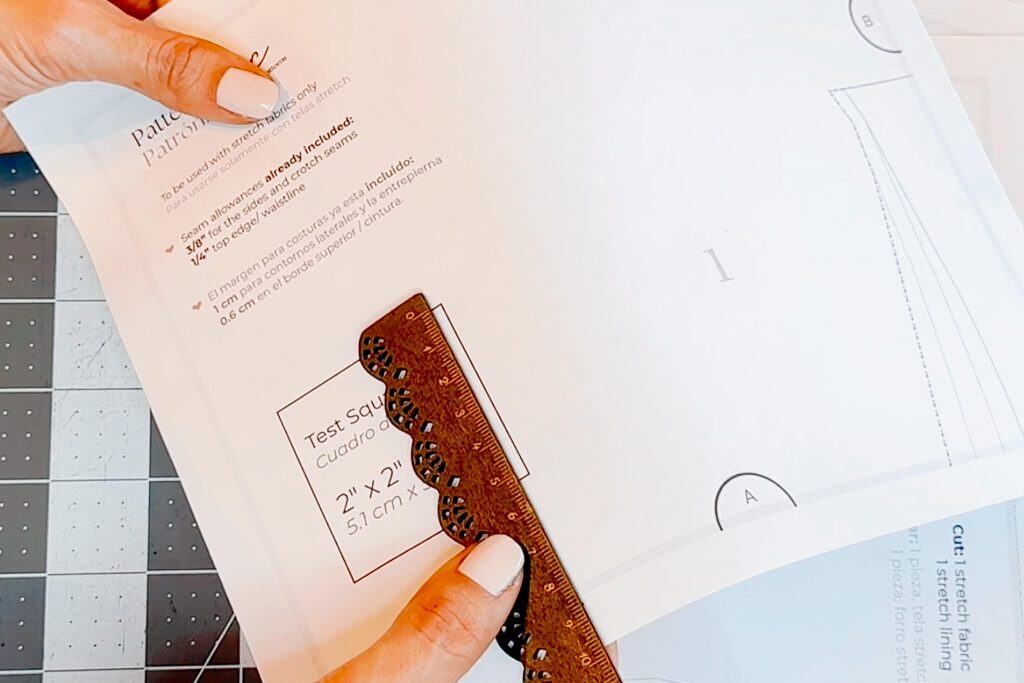
Step #1 – Print and Assemble the Pattern
Print the pattern at 100% scale on letter or A4 paper. Measure the test square to ensure accuracy, then cut or fold the edges to match the letters (A to A, B to B) and tape the sheets together to form the complete pattern.
Select your desired size, and if you want to preserve the complete pattern for future use, consider transferring it to tracing paper.


Step #2 – Cut the Fabric Pieces
Cut 4 triangular pieces (2 in main fabric, 2 in stretch lining), 2 modified triangle pieces in lining, and 1 long strip for straps in the main fabric (1 5/8″ by 59″ or the width of your fabric).


Step #3 – Prepare and Sew the Lining
Take the two shorter lining pieces and fold their top edges over 1cm, securing with pins. Use a zigzag stitch to finish these edges neatly.
Place the lining triangles on the main fabric triangles (wrong sides together), then add the shorter lining piece on top, pin all layers along the edges, and sew a straight stitch along the bottom edge of each triangle.


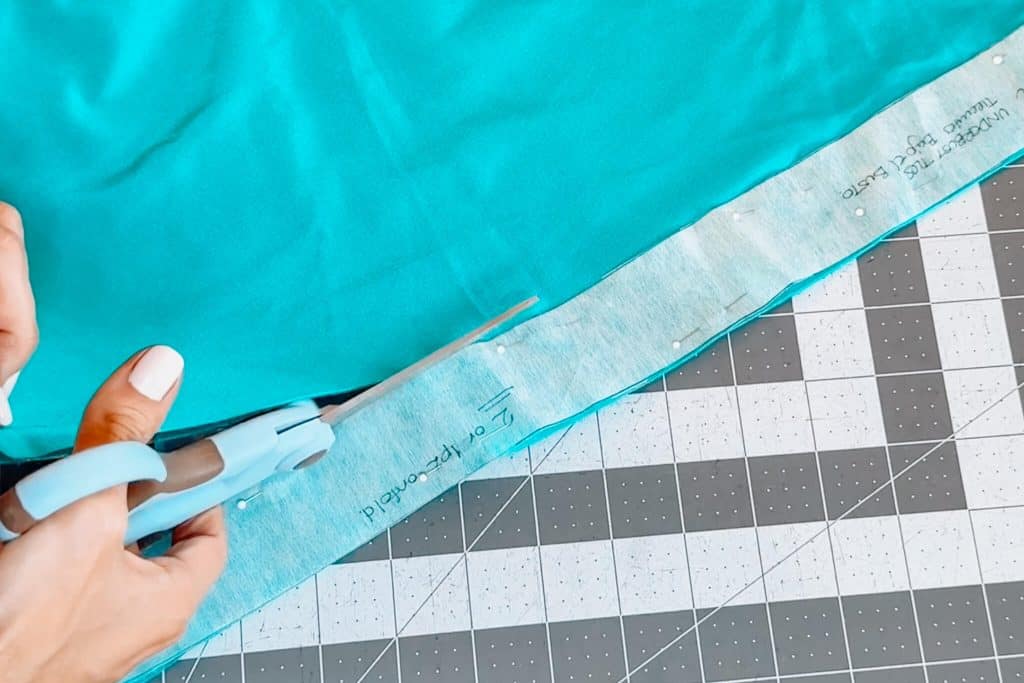
Step #4 – Sew Elastic and Create Strap Channels
Mark 1″ gaps on both sides of the triangles (at the top and bottom of the piece) and use these marks as your start and end points for attaching 1/4-inch elastic with a zigzag stitch.
Fold the elastic inward and secure with another zigzag stitch.
For the underbust strap channel, mark 1 inch up along the bottom, fold the fabric to the mark, pin along the curve, and sew with a small zigzag stitch (width 2.5, length 2.5).


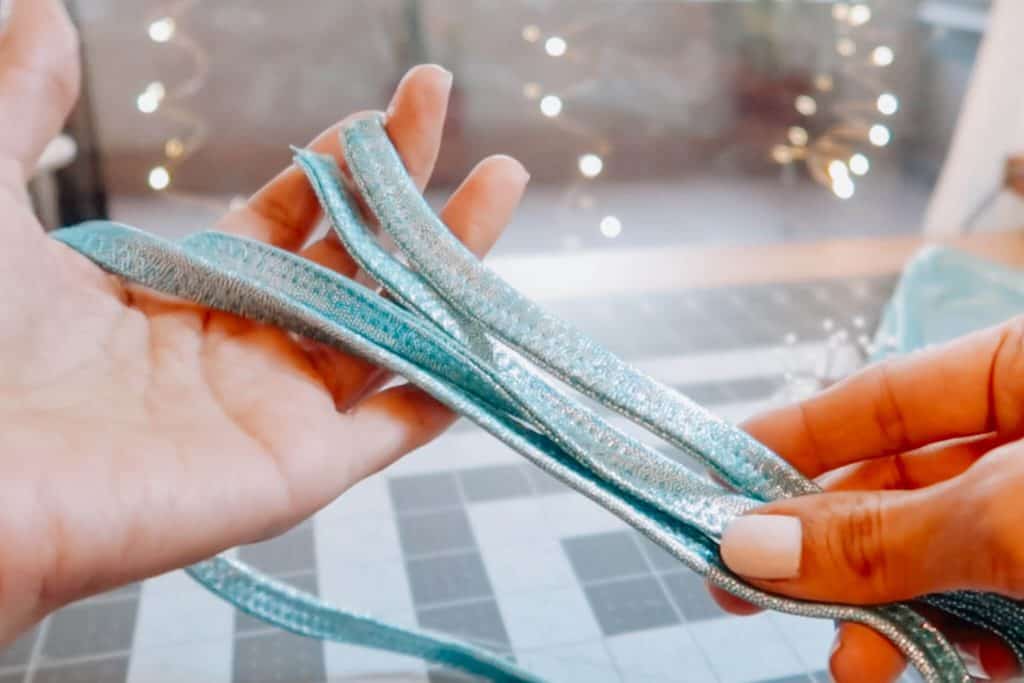
Step #5 – Attach Straps and Add Cups
Fold and sew the strap fabric edges inward with a zigzag stitch, then cut to the pattern’s recommended lengths.
Thread straps through the crystal connectors, folding about 5/8 inch inward, and secure with a straight stitch. Attach straps to the top corners of the triangles similarly, and thread the back-tie strap through the channels using a safety pin.
Finally, insert removable cups to shape the top if you want extra padding.


Watch How to make an NPC Competition Top
Check out the full video below for all the juicy details to bring this competition top to life like a pro! From cutting the fabric to adding the final touches, you’ll learn all the tips and tricks I’ve gathered over the years to make the process of sewing your first bikini top smooth and enjoyable! 🫶
DIY Competition Triangle Top: Final Thoughts
Creating your own competition bikini top is not just about saving money or having a custom fit—it’s about the pride and confidence that comes from crafting something uniquely yours! 😍
Sewing can be therapeutic, and the satisfaction of stepping on stage in a bikini top you made yourself is unbeatable. 🔥
Remember that the right tools—like high-quality thread, stretch needles, and precise patterns—make all the difference.
If you ever feel stuck, just revisit this guide or drop me a comment below with any questions—I’d love to hear from you! 🫶
Oh, and if you’re wondering about the “How to bling…” part, stay tuned for upcoming content with all the details about that! 👀
Thank you for following along, and I can’t wait to see what you create!

P.S. A stunning bikini top deserves the perfect matching bottoms! 😉 Check out my step-by-step guide to sewing NPC bikini bottoms here or the Wellness / Euro-cut style bottoms here.


One Comment